Due to the Coronavirus and a shortage of masks, many people are making cloth masks and donating them. Hospitals, nursing homes, any place that uses masks might be in need of these! I started out pretty confused by all the different patterns, but finally came up with something that seems to work well. My sister in law is a nurse and this is the pattern she requested. Check with your local hospital to see what they are accepting and know that things are constantly changing. From what I can tell right now though, this is a great place to start. This version has a pocket for a filter to be inserted, and a channel where a nose wire can be placed. (Note: please leave the twisty tie out when donating as many hospitals are concerned about the wire holding up in the wash.)
I can NOT take credit for this pattern. Its mostly taken from THIS youtube video, and my adaptations are mostly things that my friend Megan told me she was doing! Thanks to video chat and me being thoroughly confused for a while and asking her lots of questions… we finally sorted it out. I just wanted to show a couple of other people what I ended up learning, and well, we’re all quarantined, so this is the only way I can show my friends who are sewing these along with me. 🙂
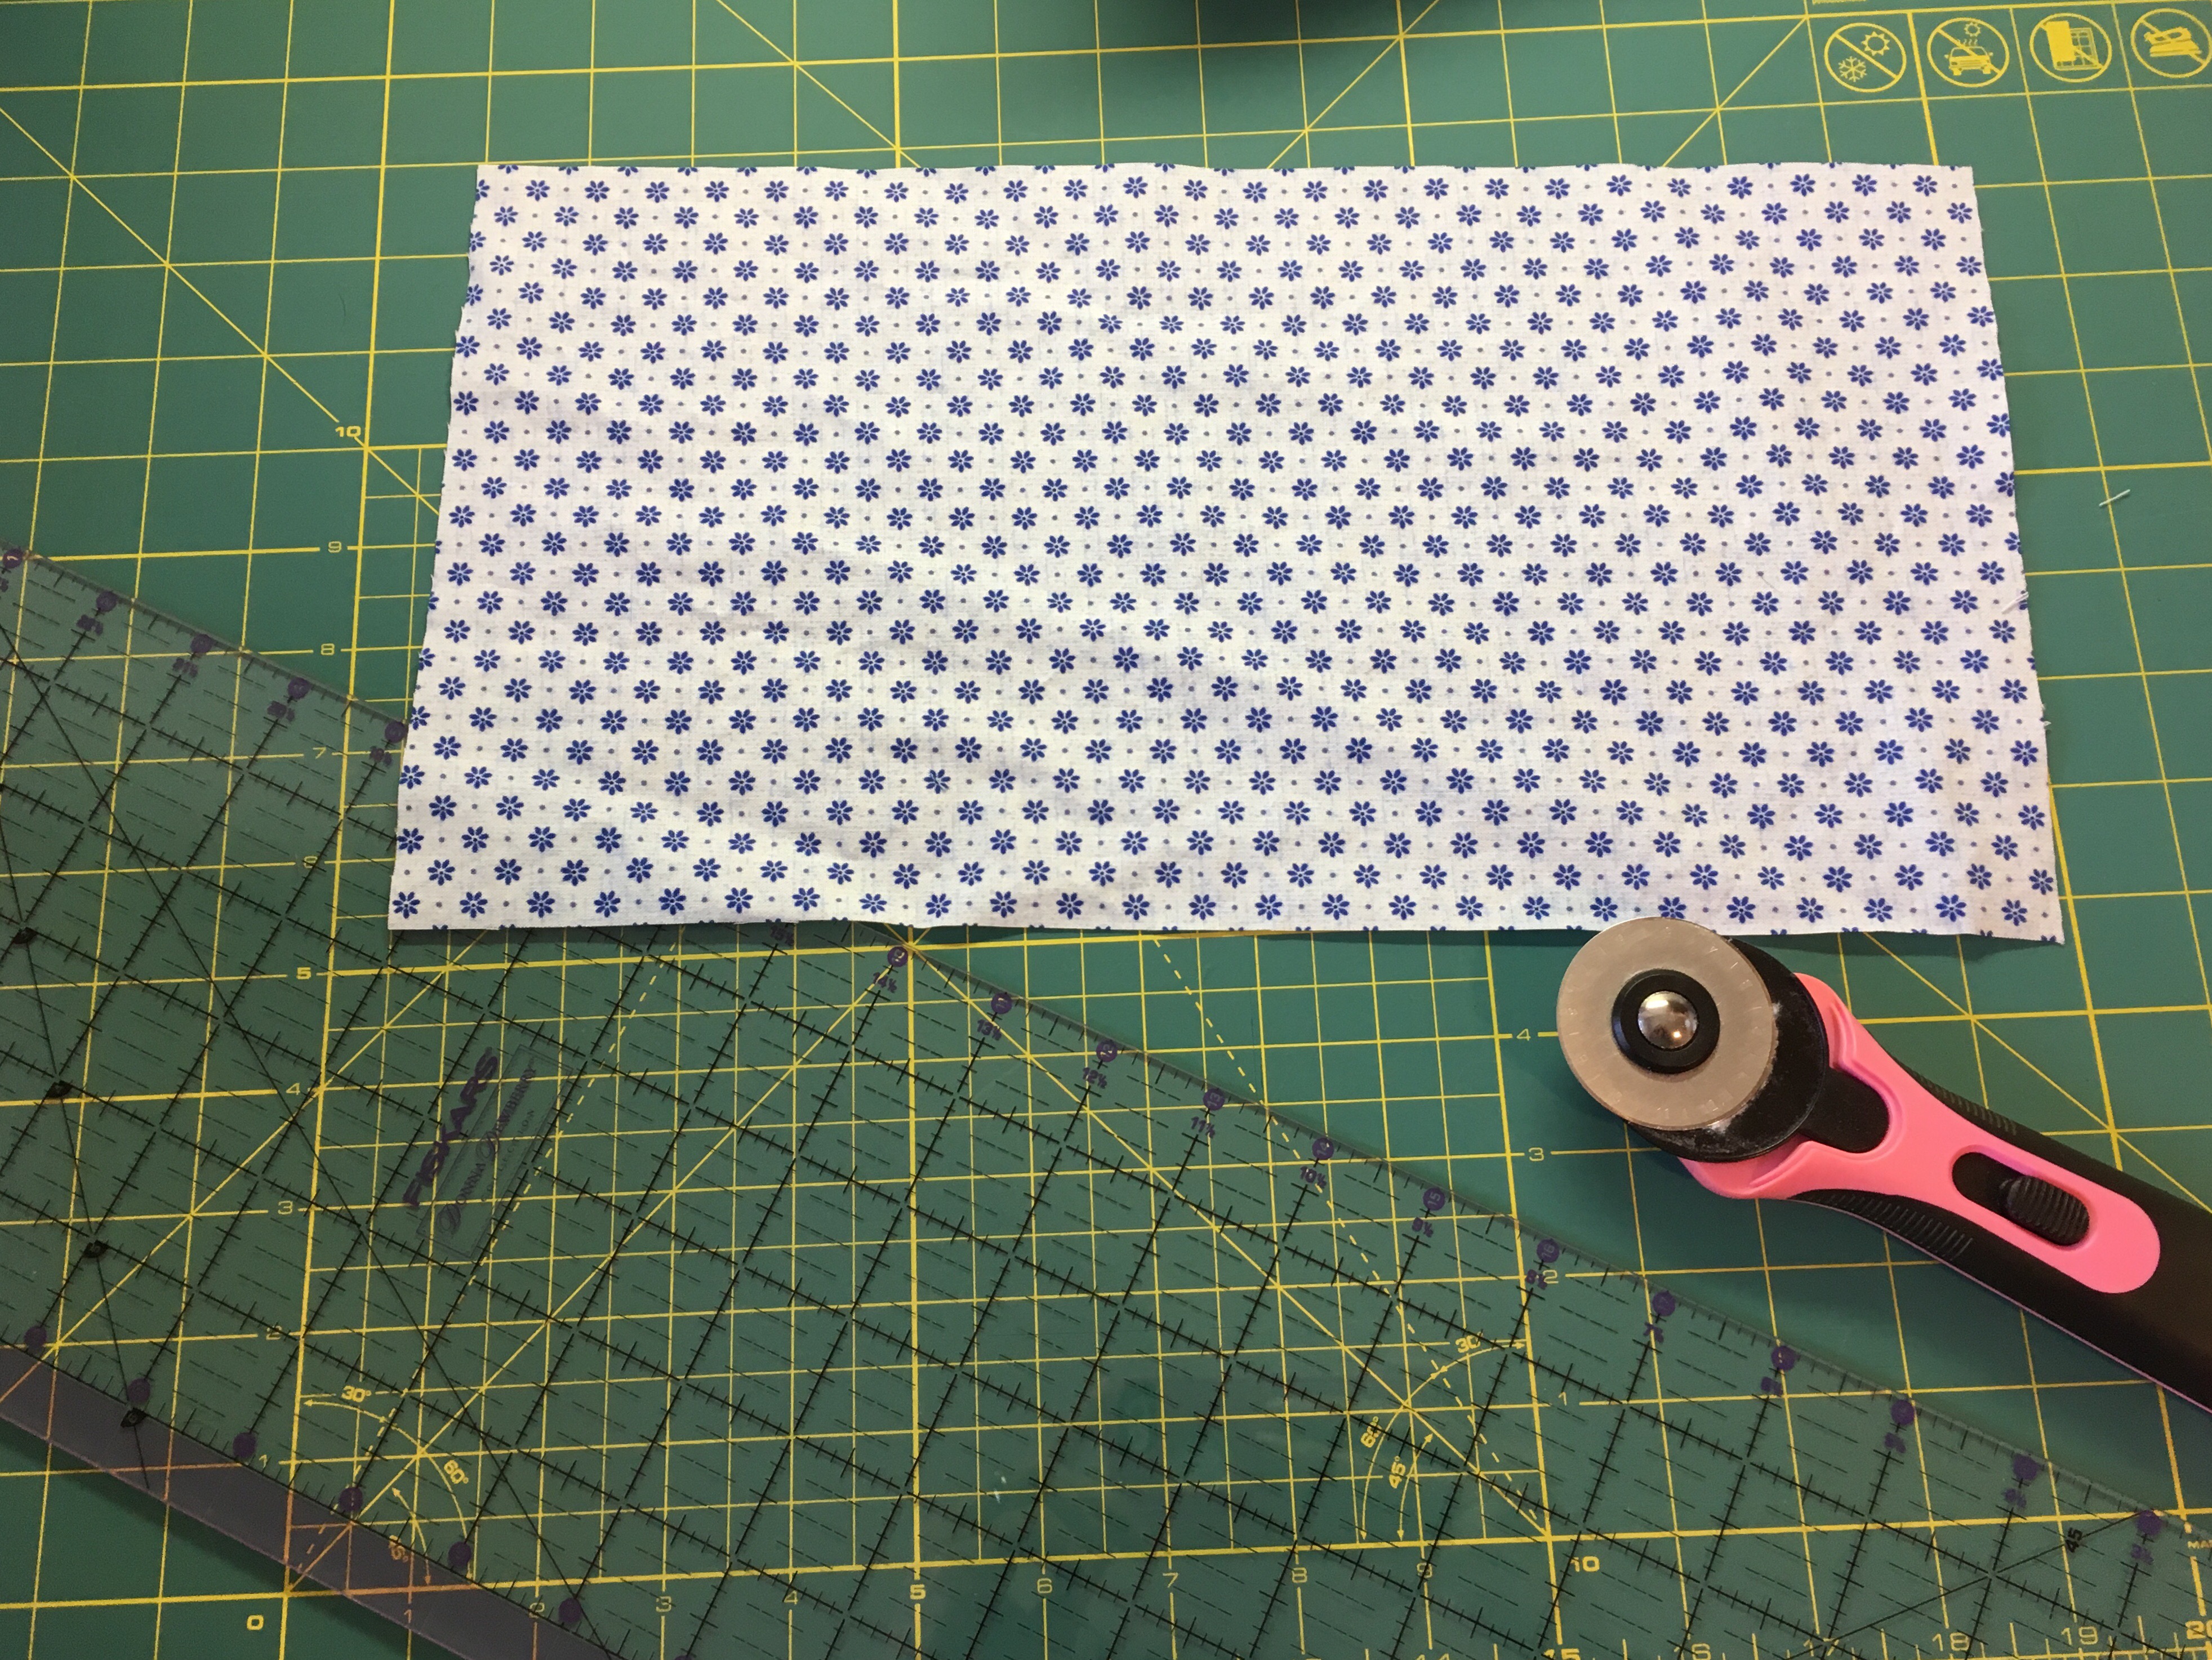
Start with a piece of fabric, 15″ x 7.5″.
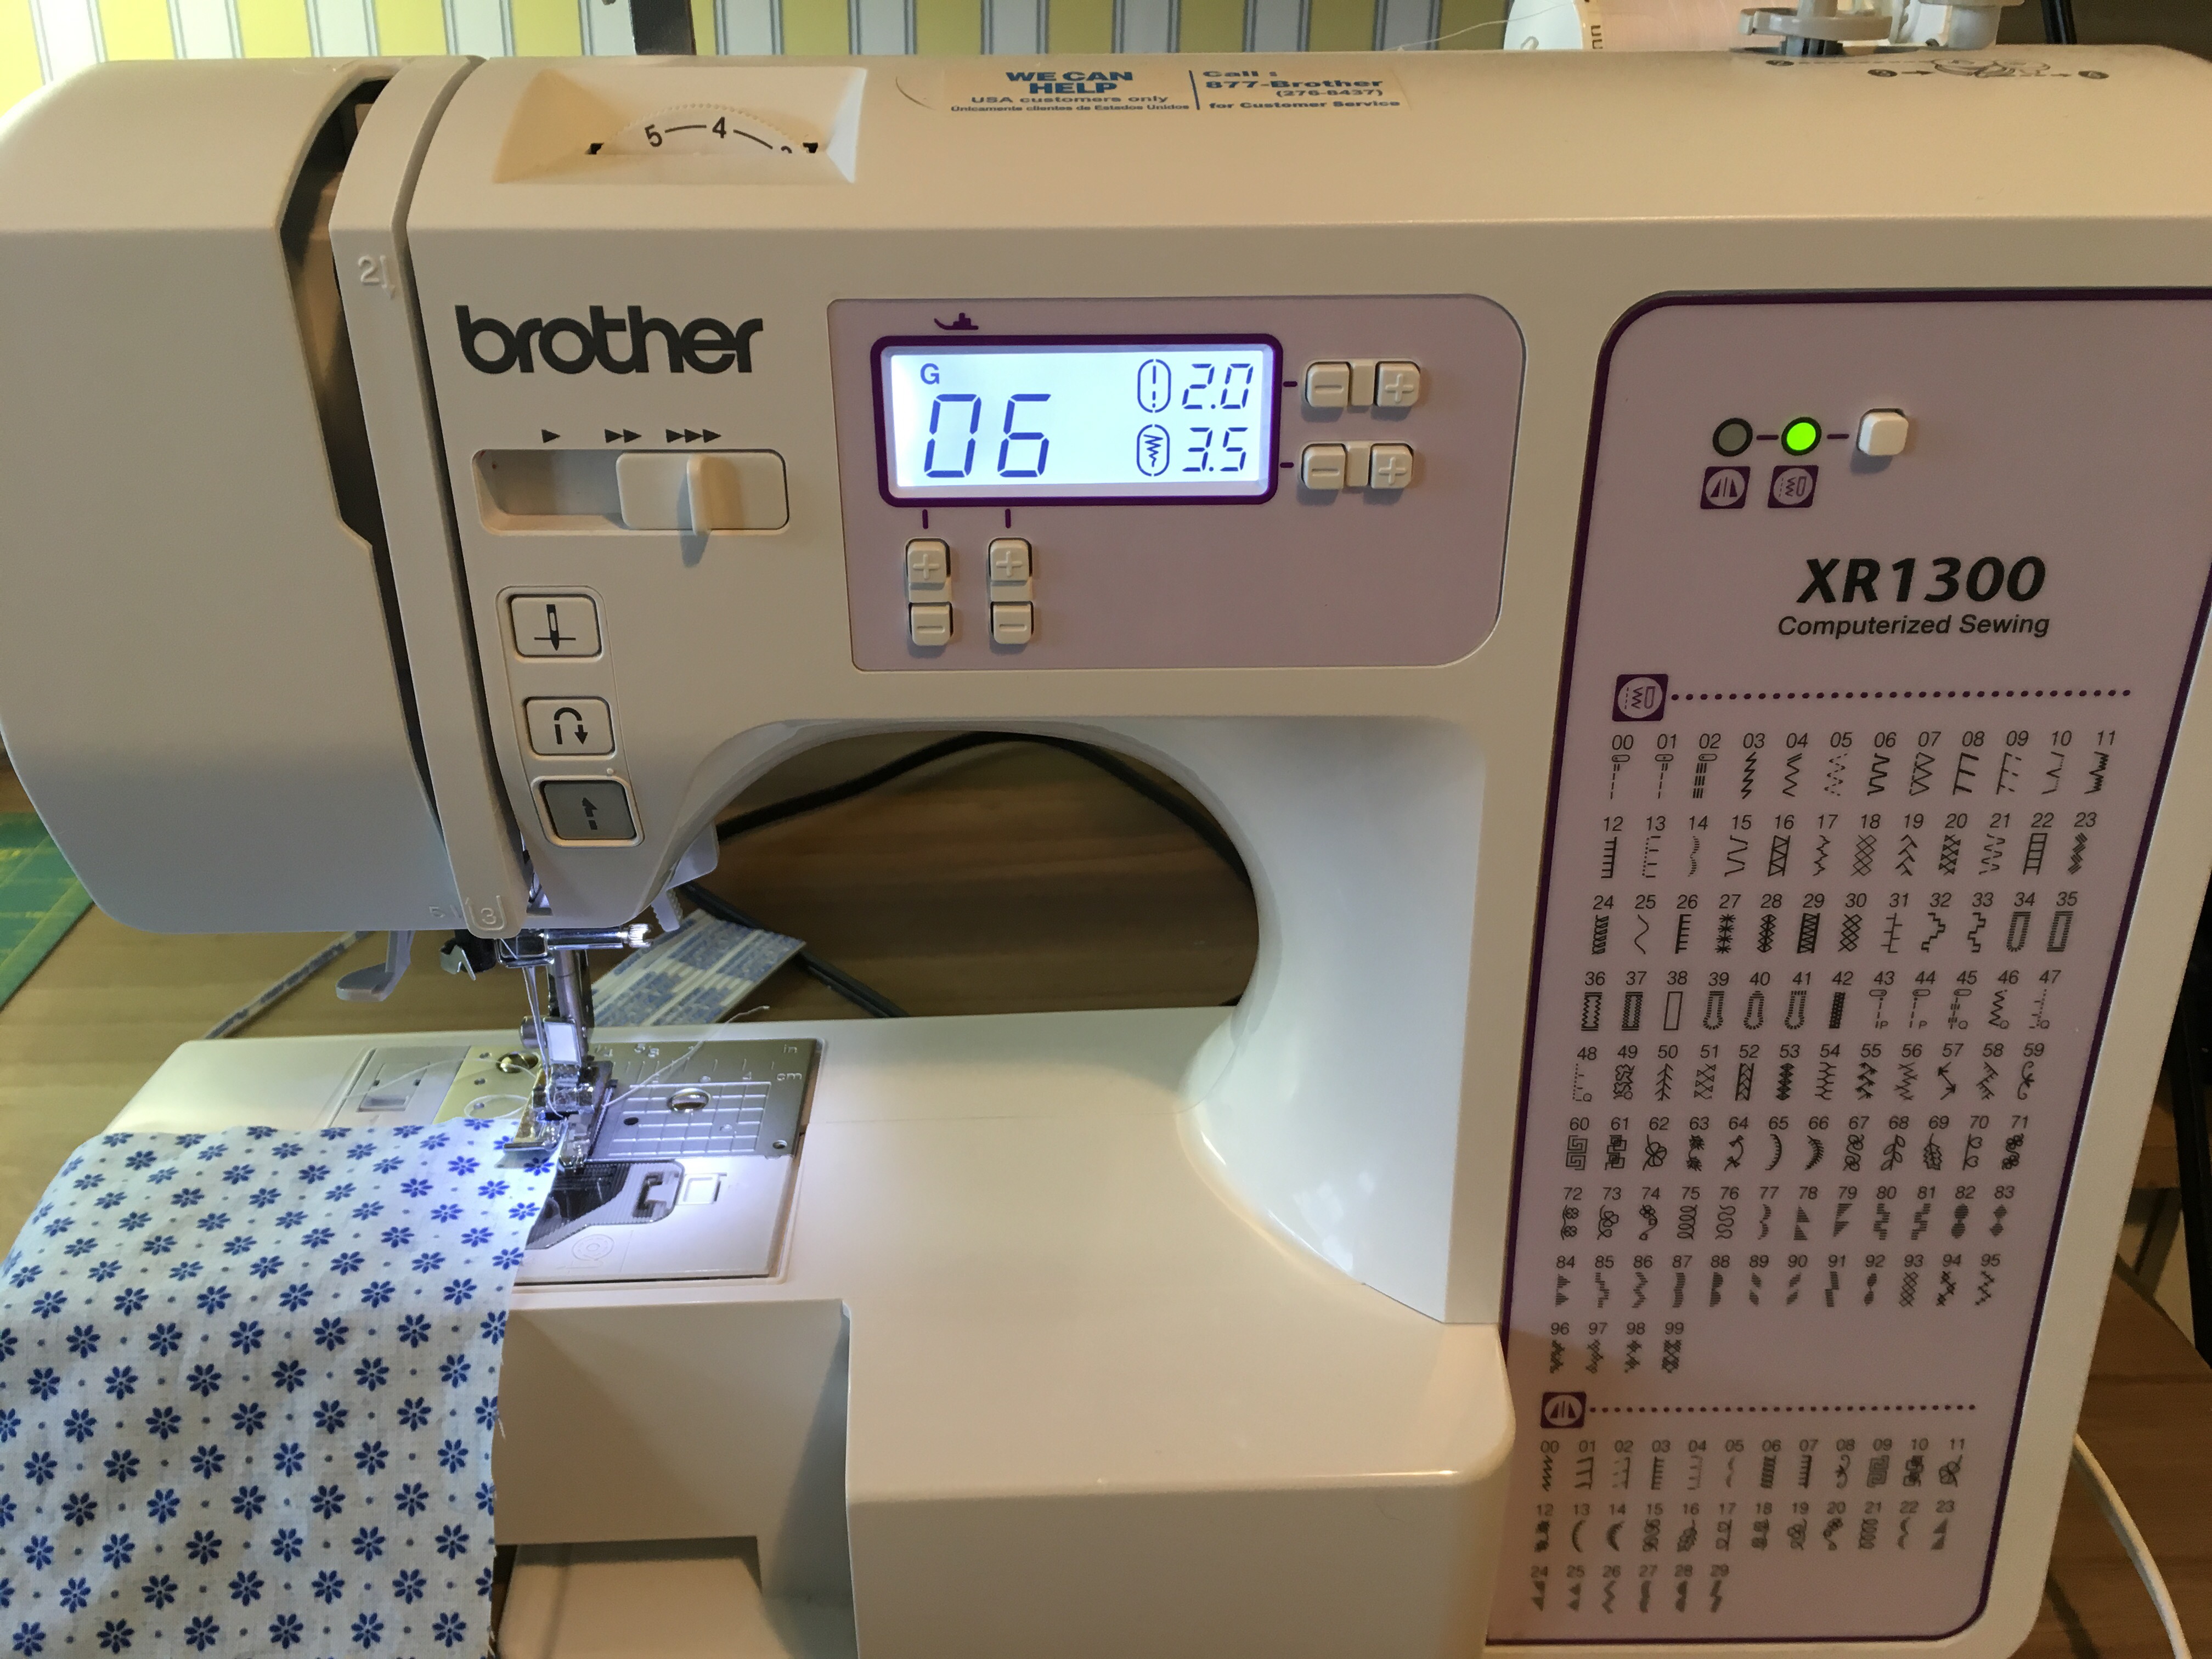
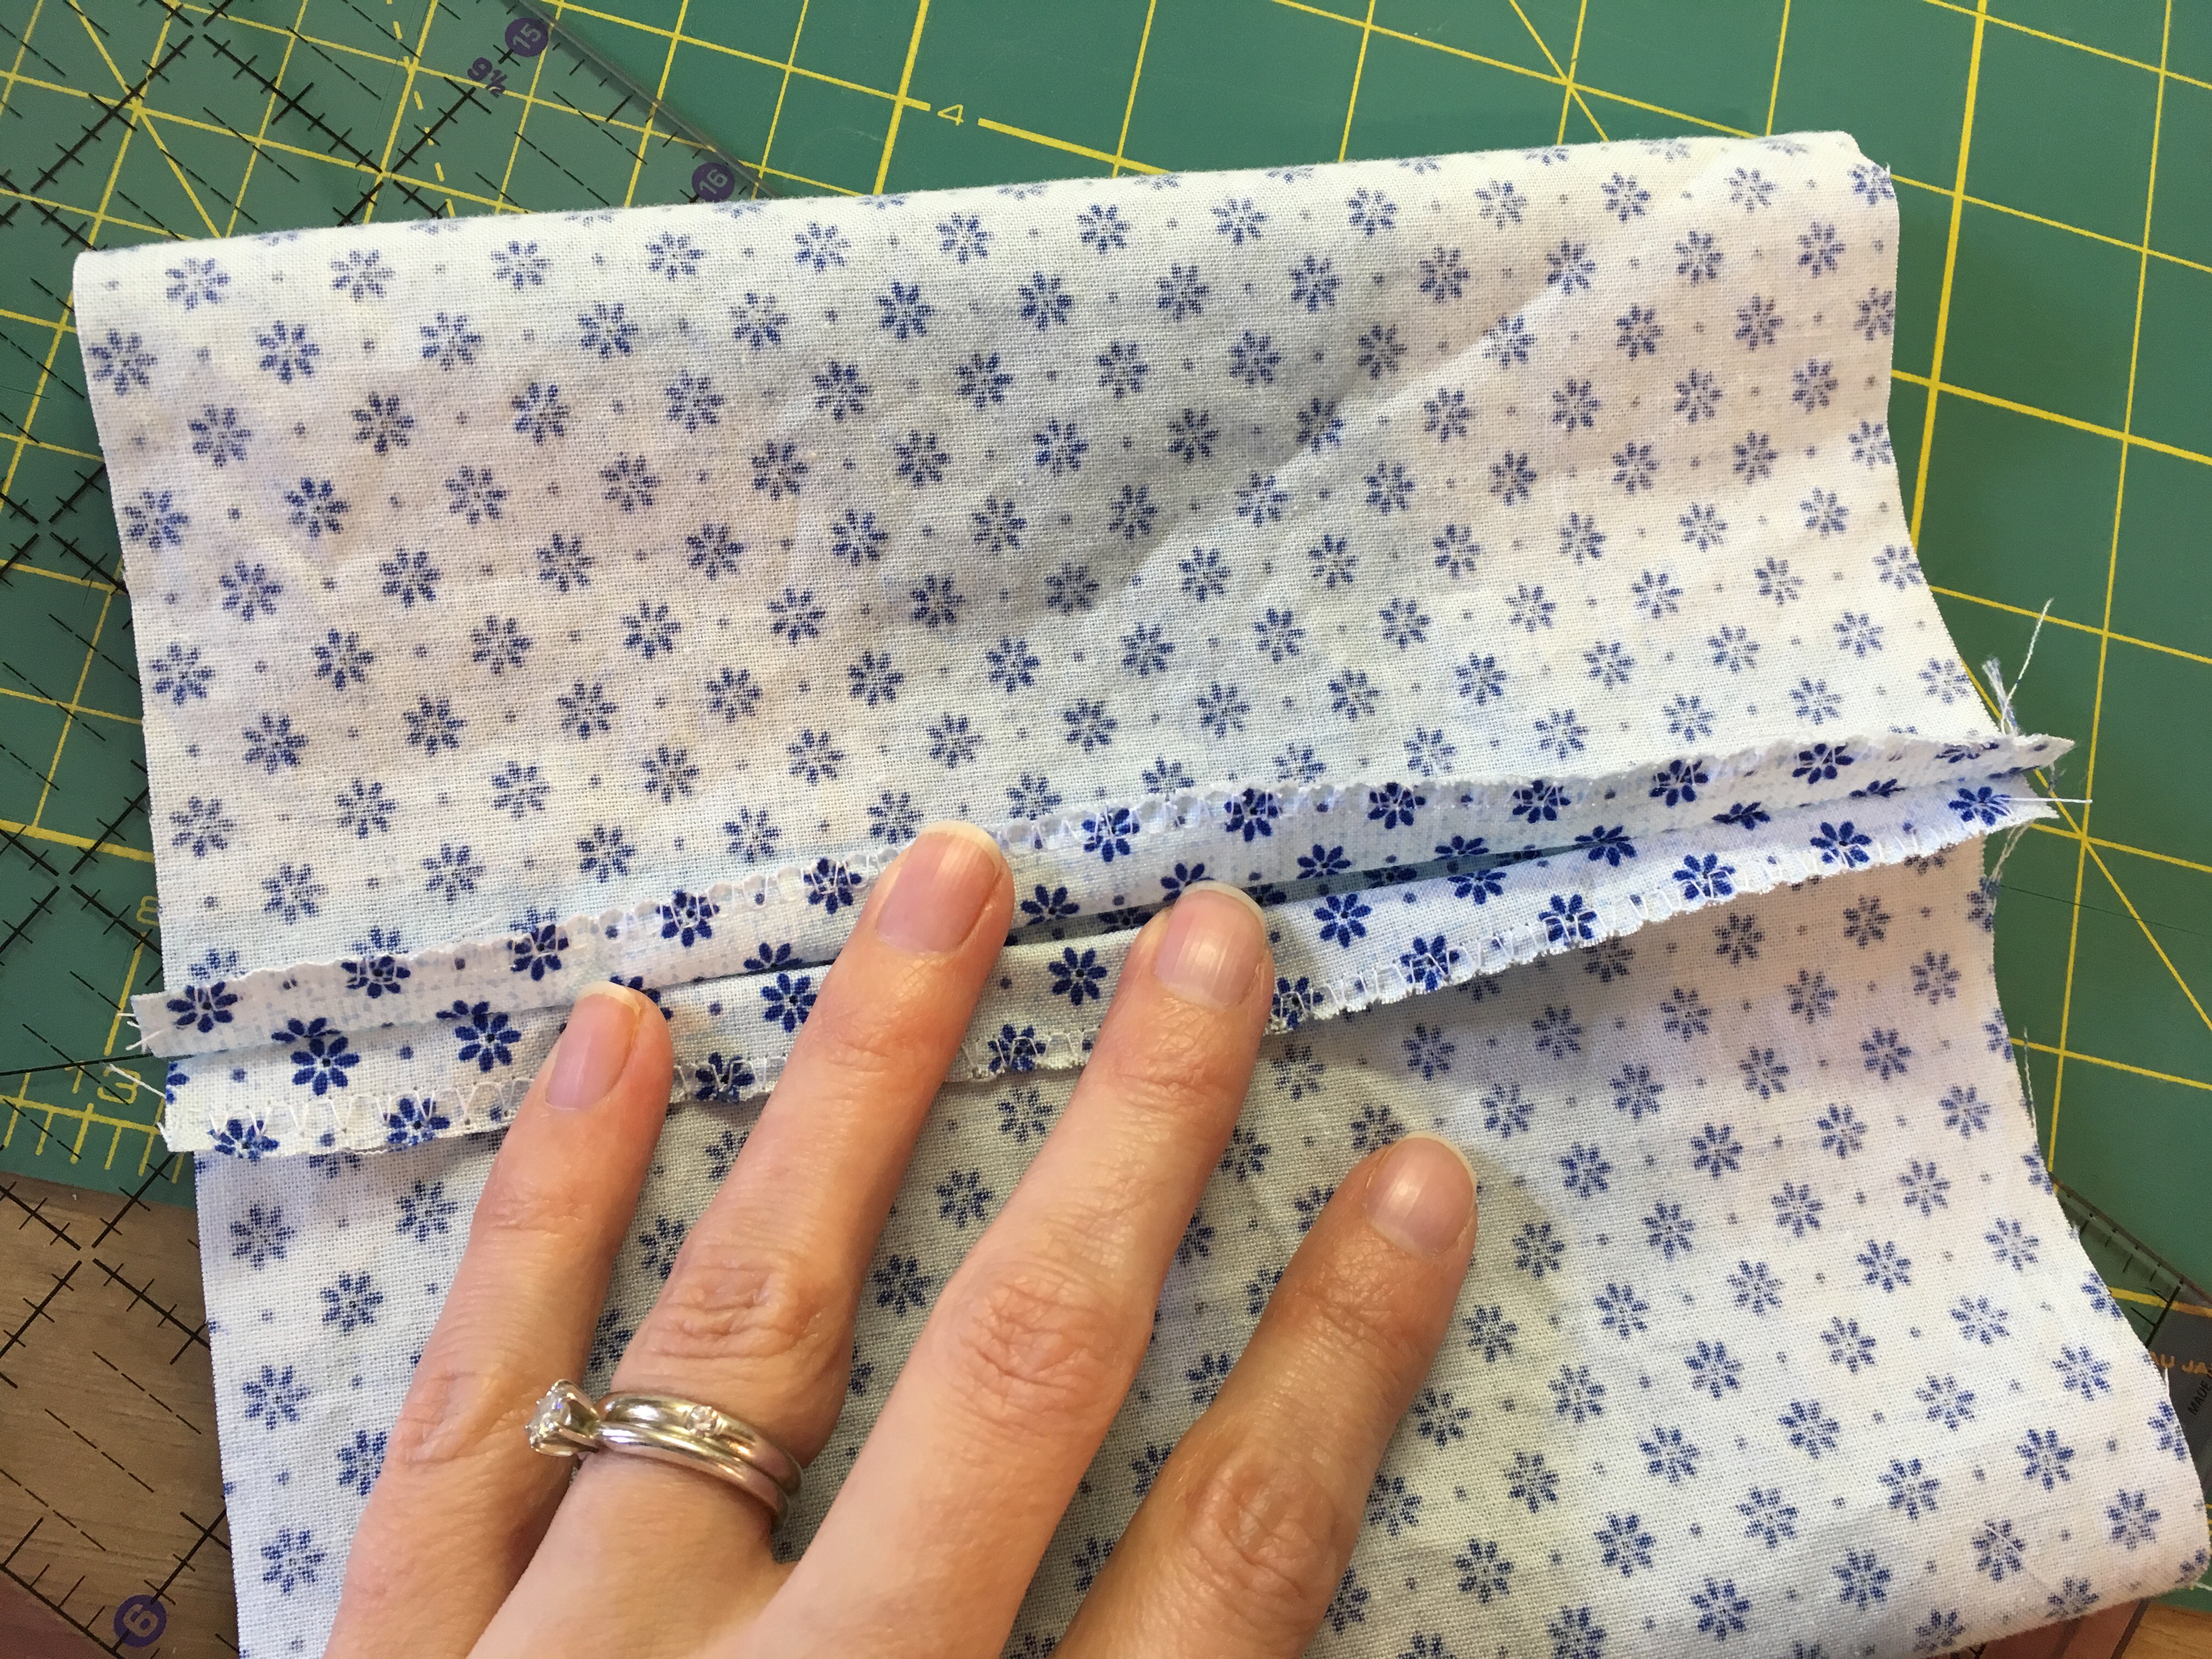
Serge or zigzag both short edges of your piece of fabric. I used a G foot and selected stitch 6 on my machine.

Fold your piece in half, right sides together. Place pins 1 1/2″ in from each edge and sew, leaving the middle open.

Iron the seam open and sew across each side of the opening. This gets a little tricky, see the video I linked to above for a how-to.
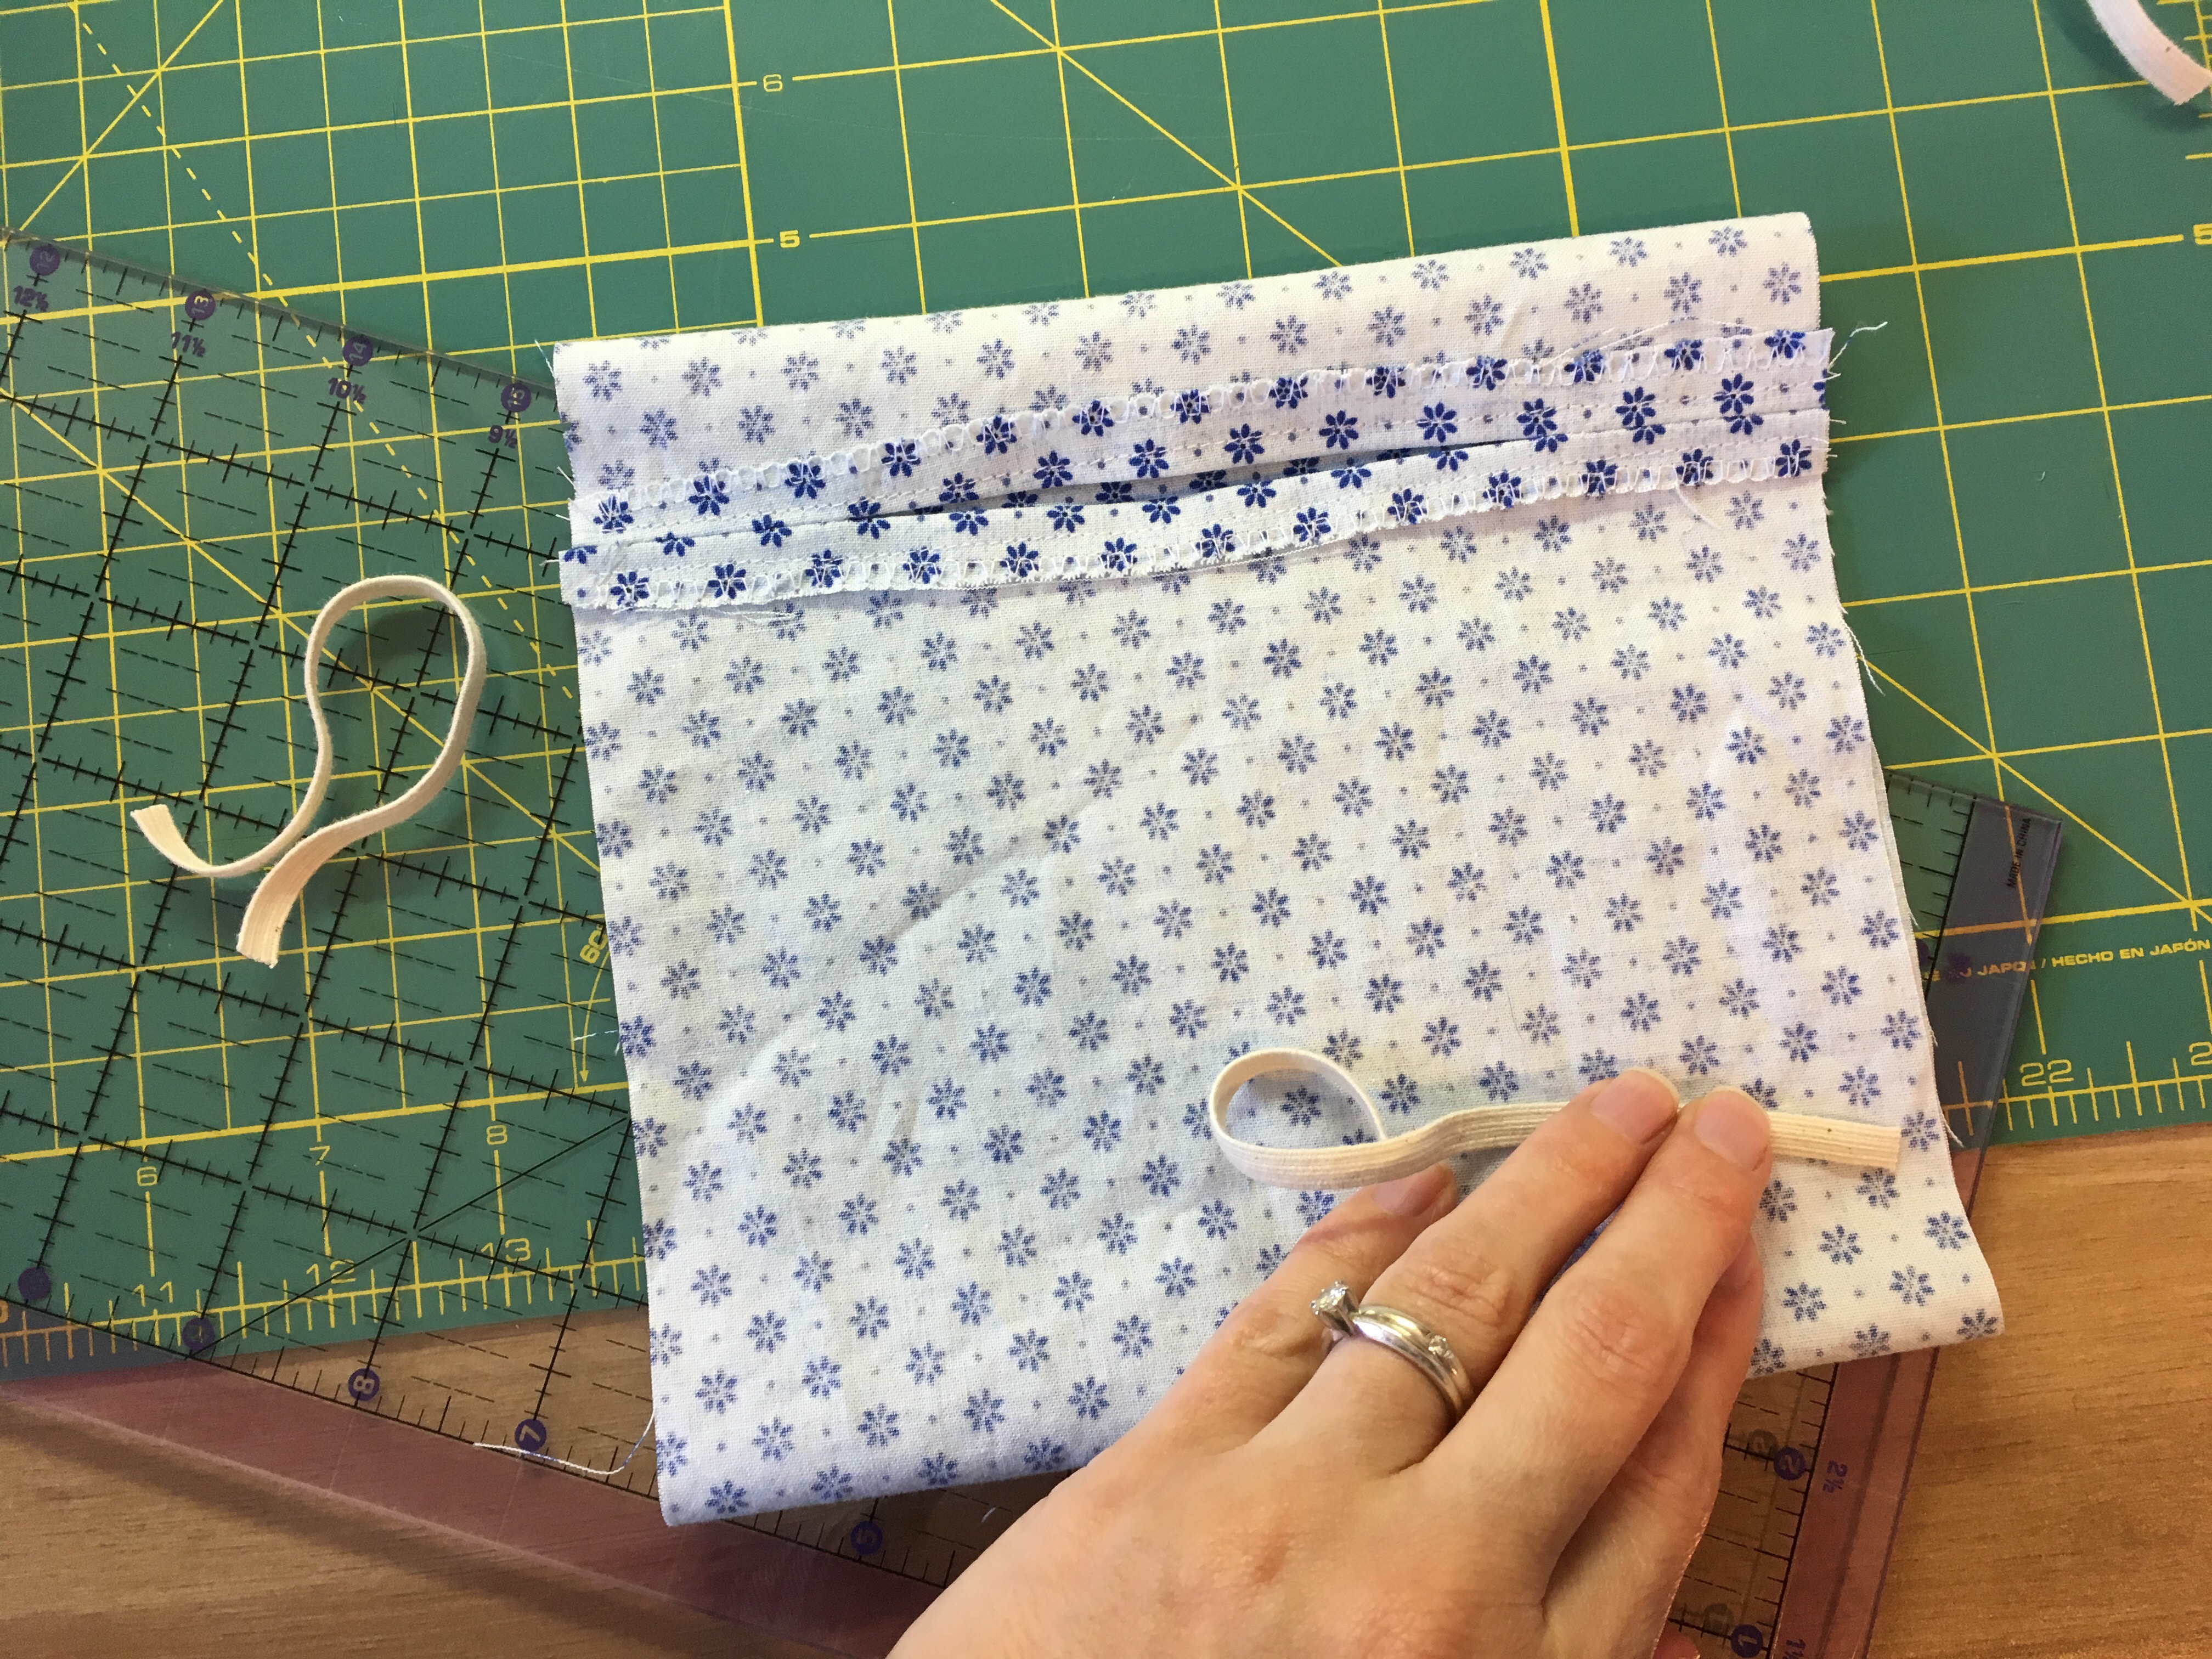
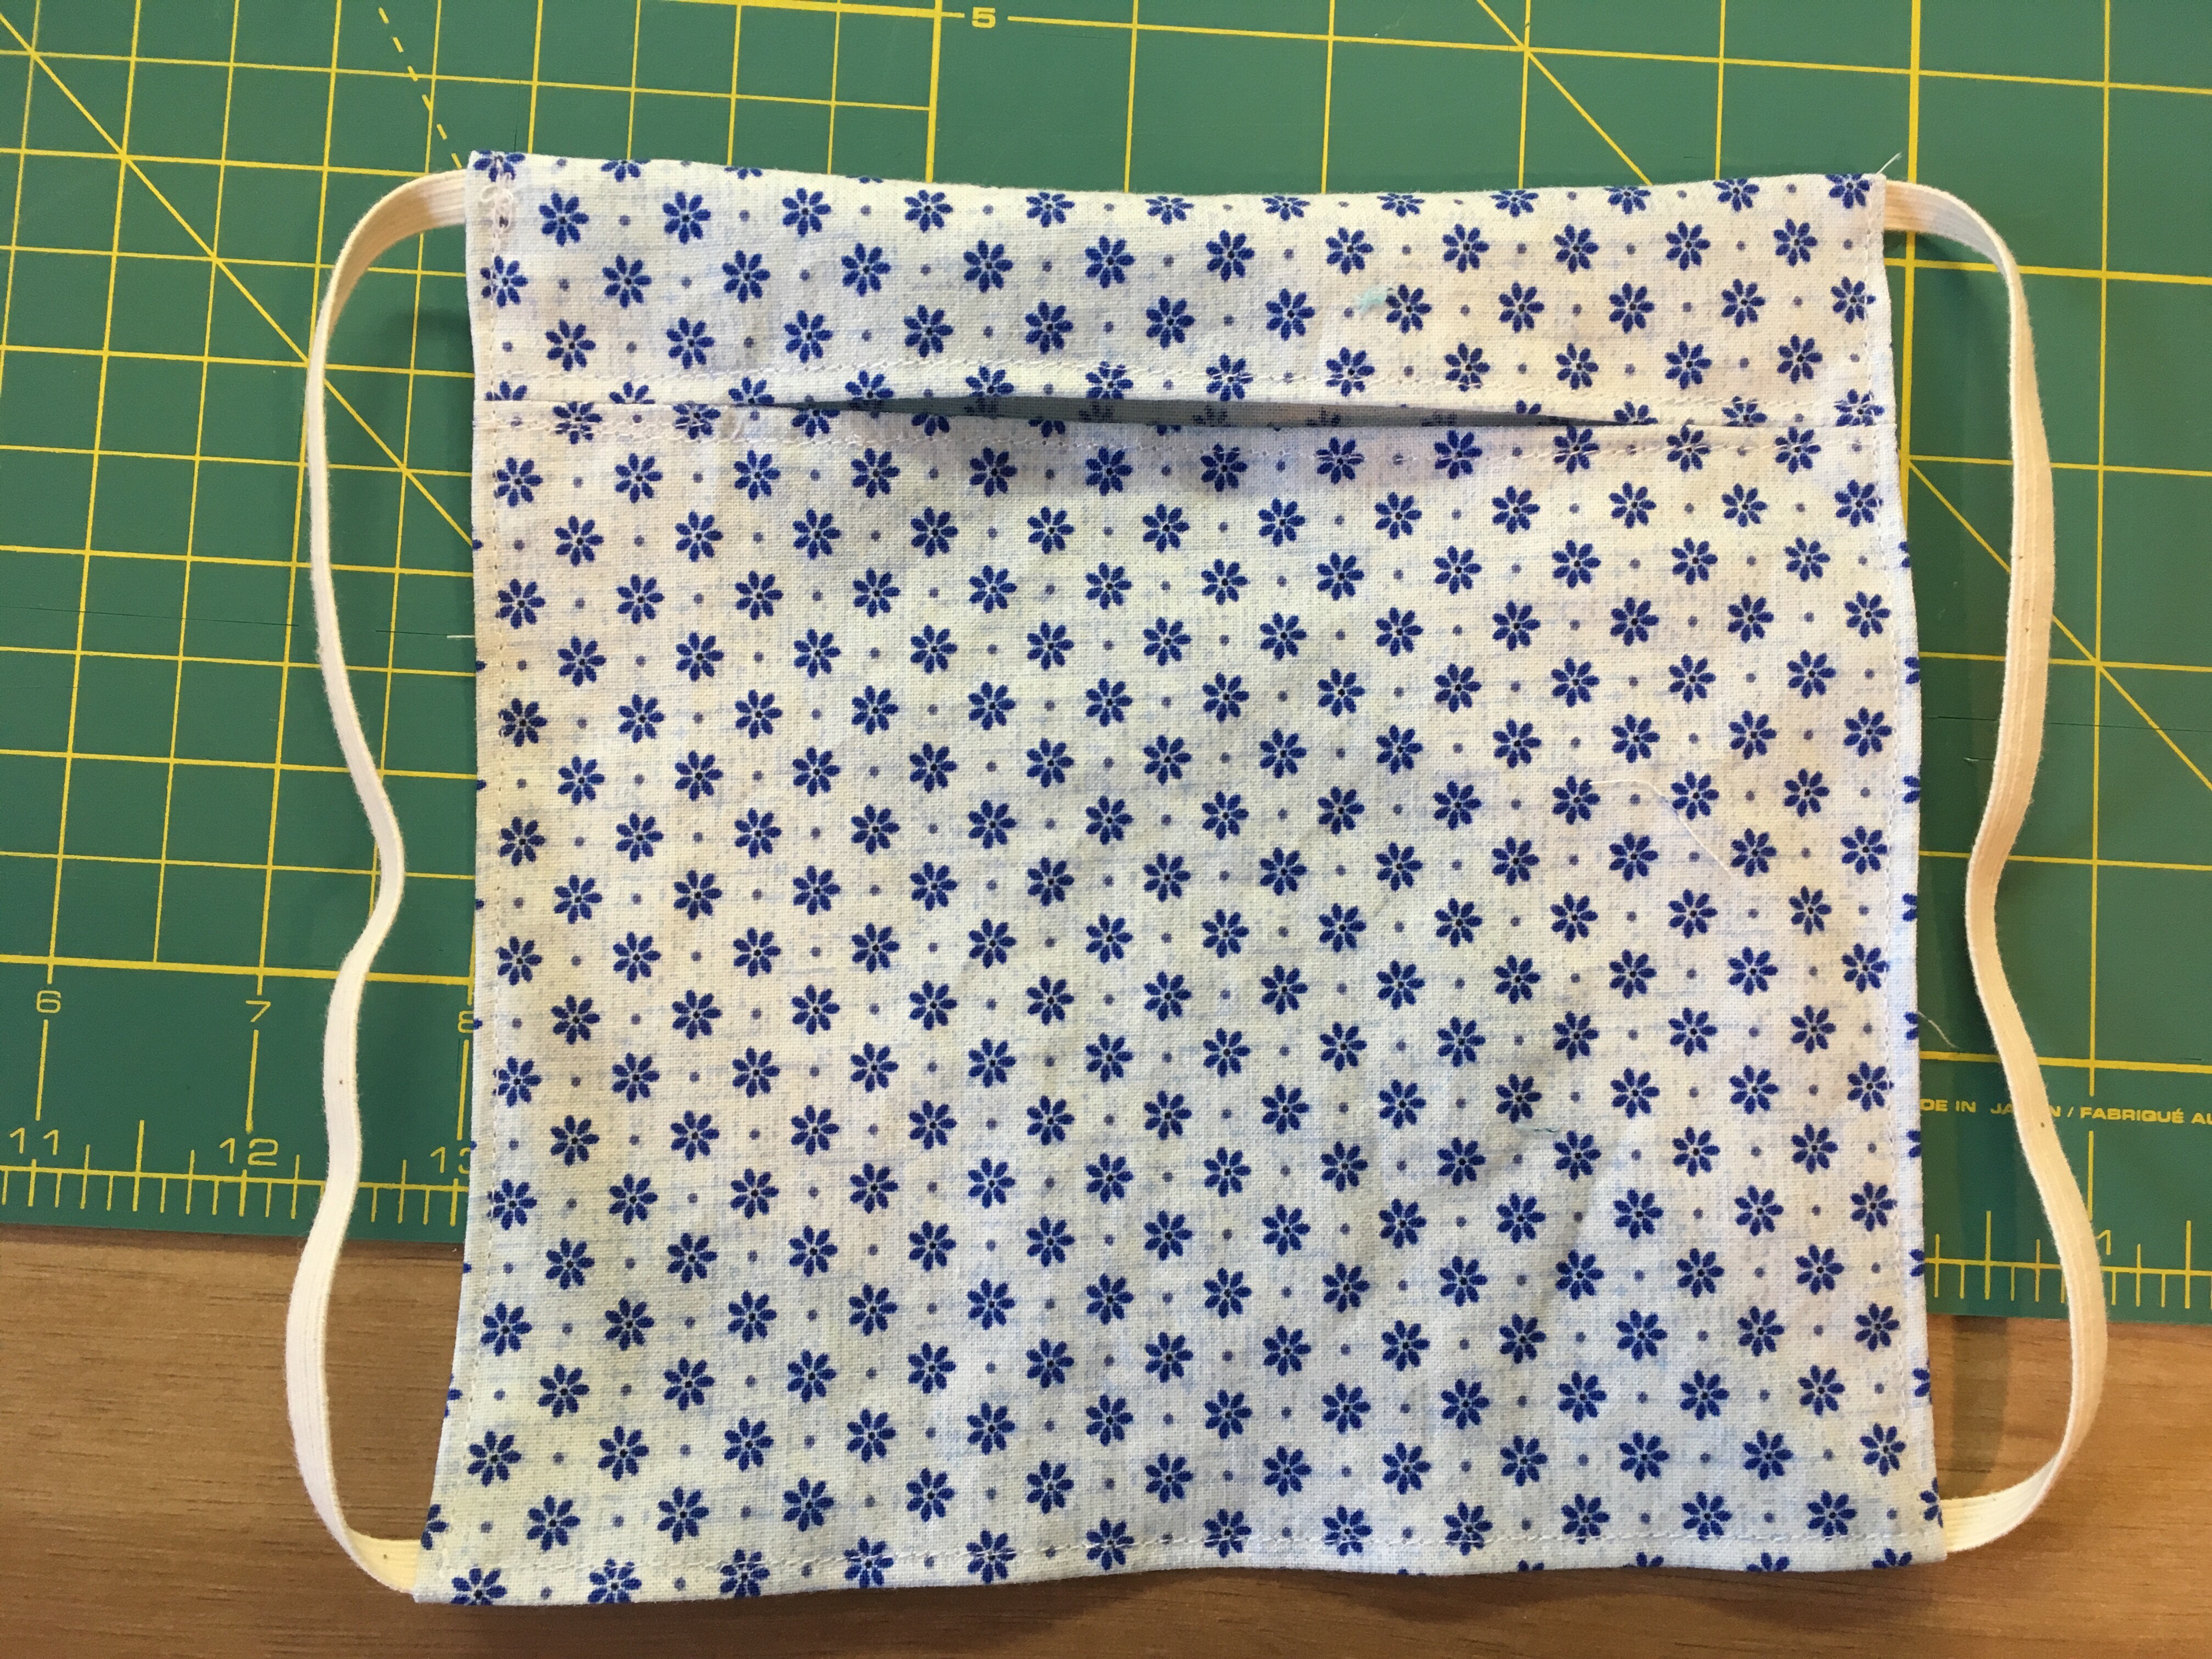
I’ve been using two pieces of elastic, 8″ each. This is where we stray a bit from the video… leave the piece inside out as shown and tuck one end of the elastic inside in the bottom corner and sew up the side, leaving 3-4″ open – don’t close the side all the way. Be sure you situate the opening near the top of one side like this: (It should even be a little bit farther up than shown, you just need to leave space for the nose wire channel you’ll make in a minute.)

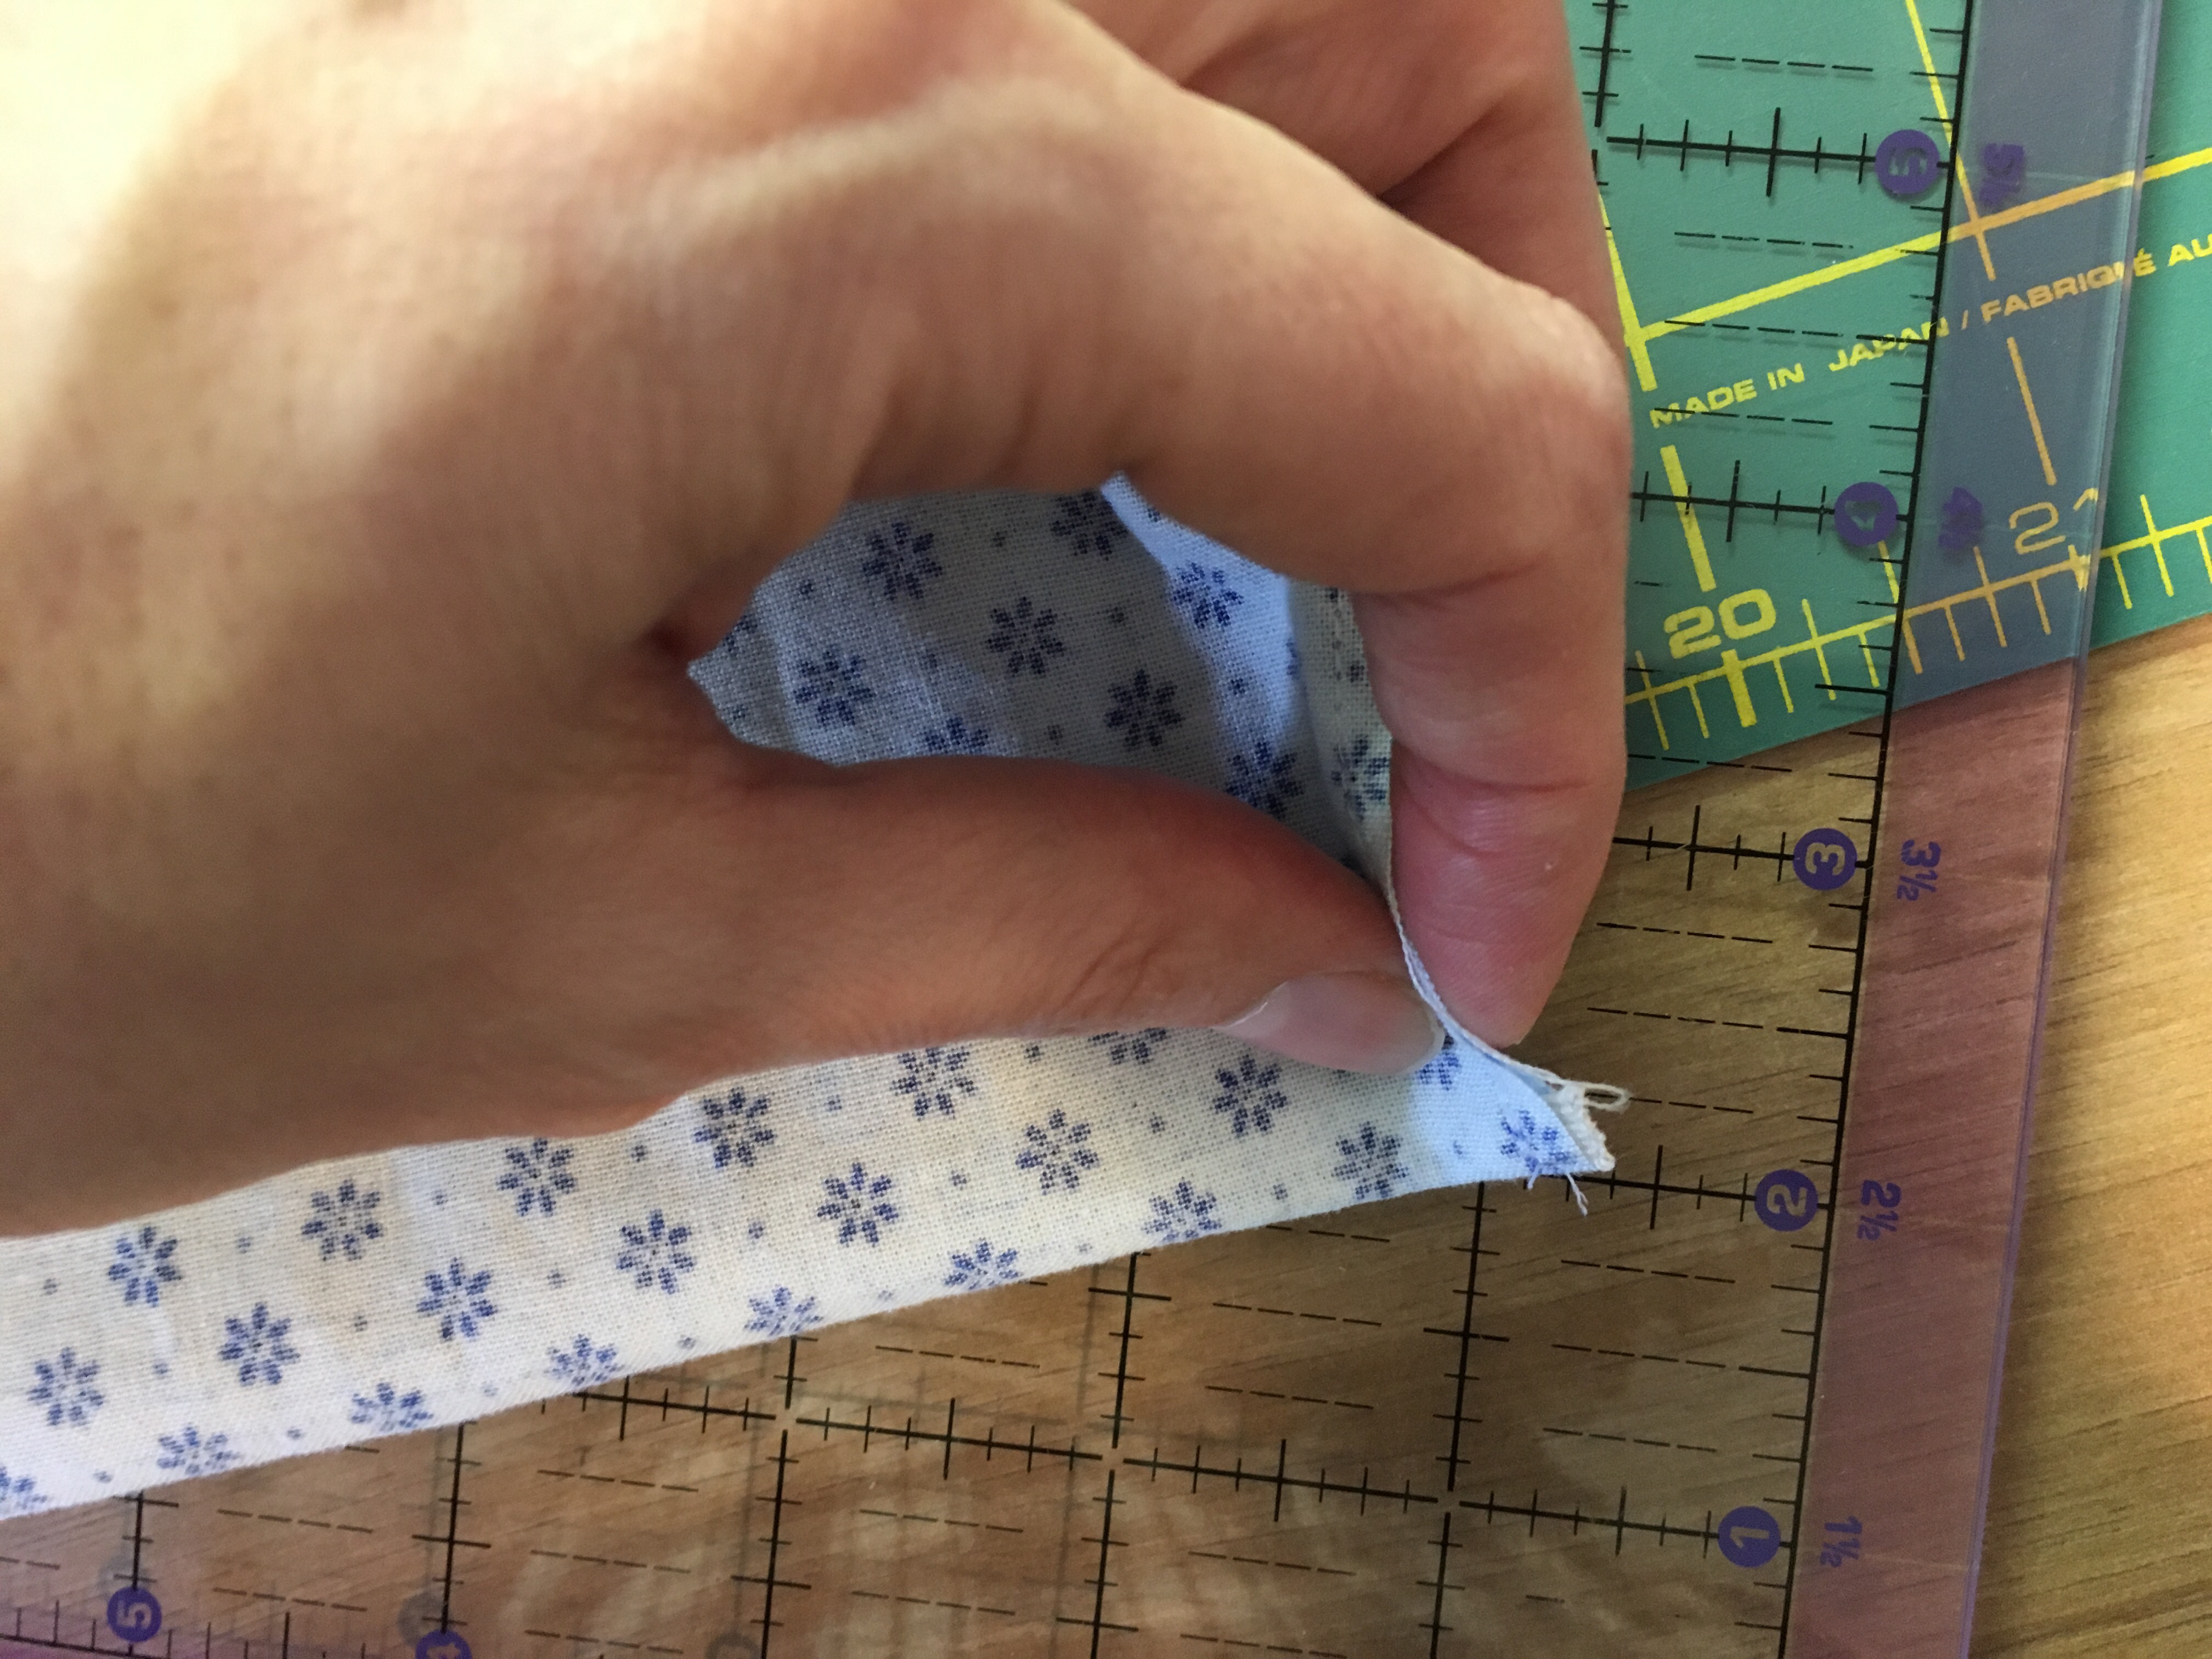
Now turn it right side out. Grab the free end of the elastic and tuck it in the top corner. Turn the raw edges in and seal them up at the same time. Sew down one side, across the bottom, and up the other side (tucking in the other edges and sticking the other elastic in, just as you did on the first side).
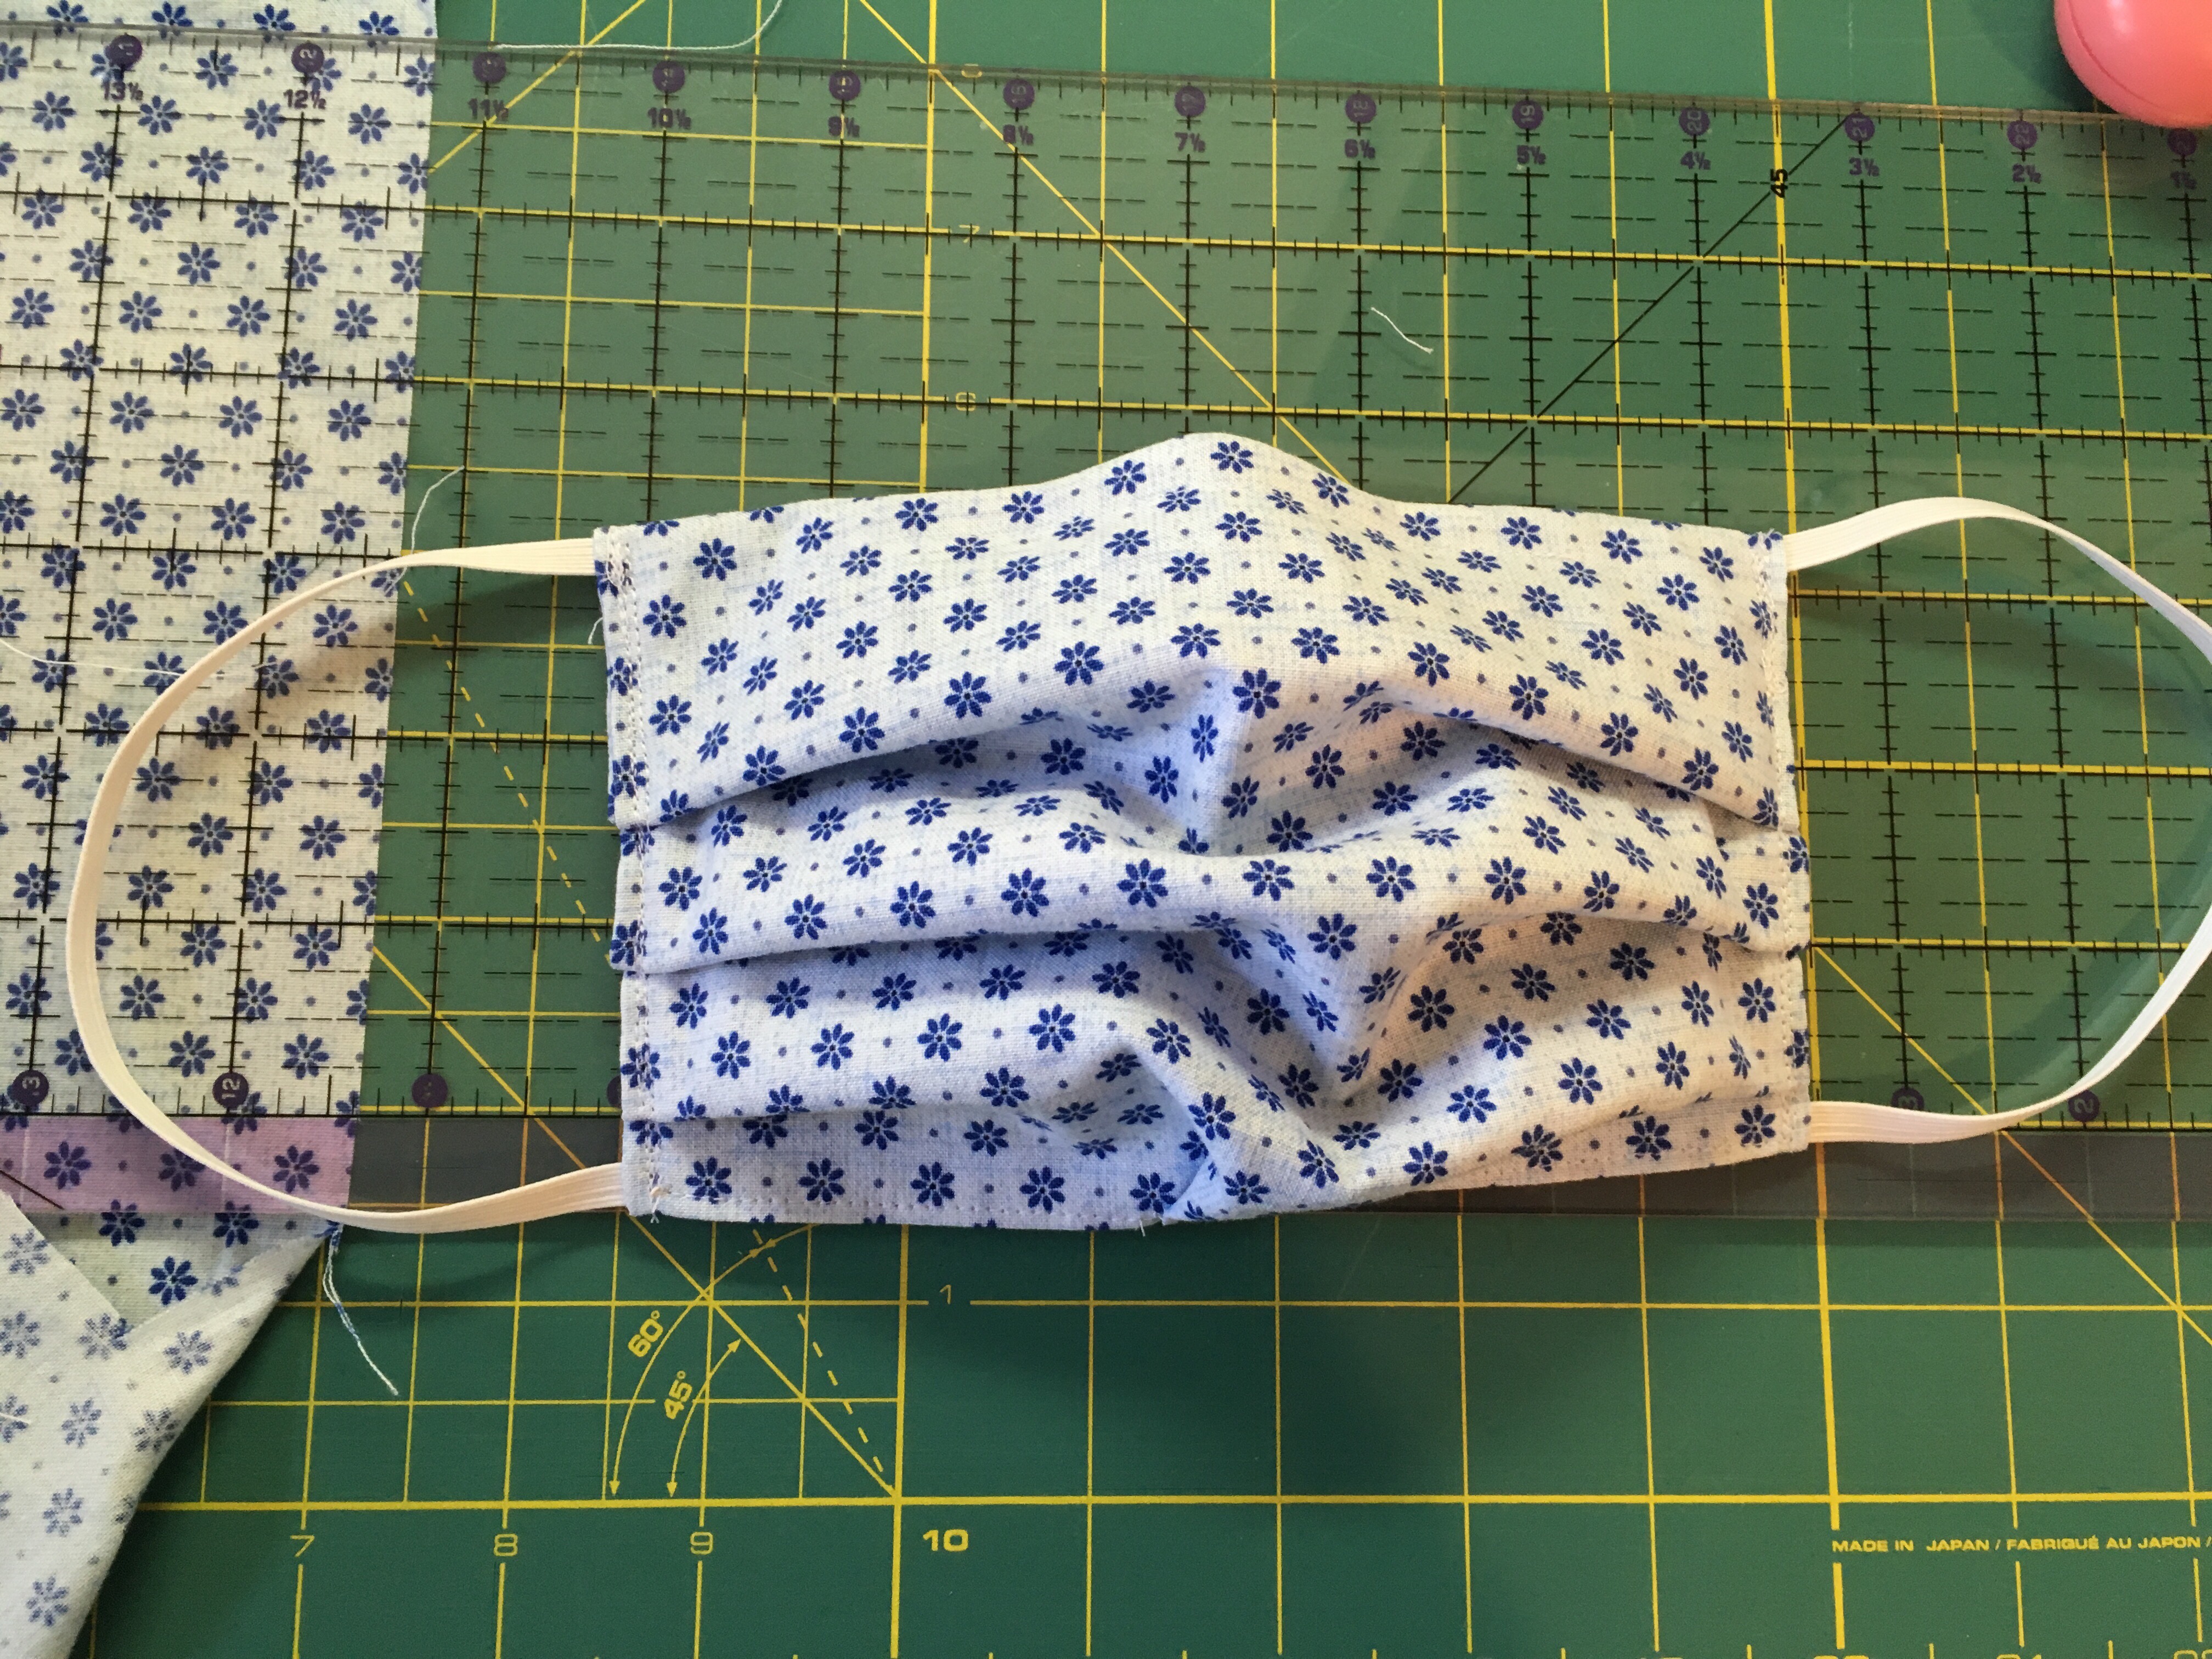
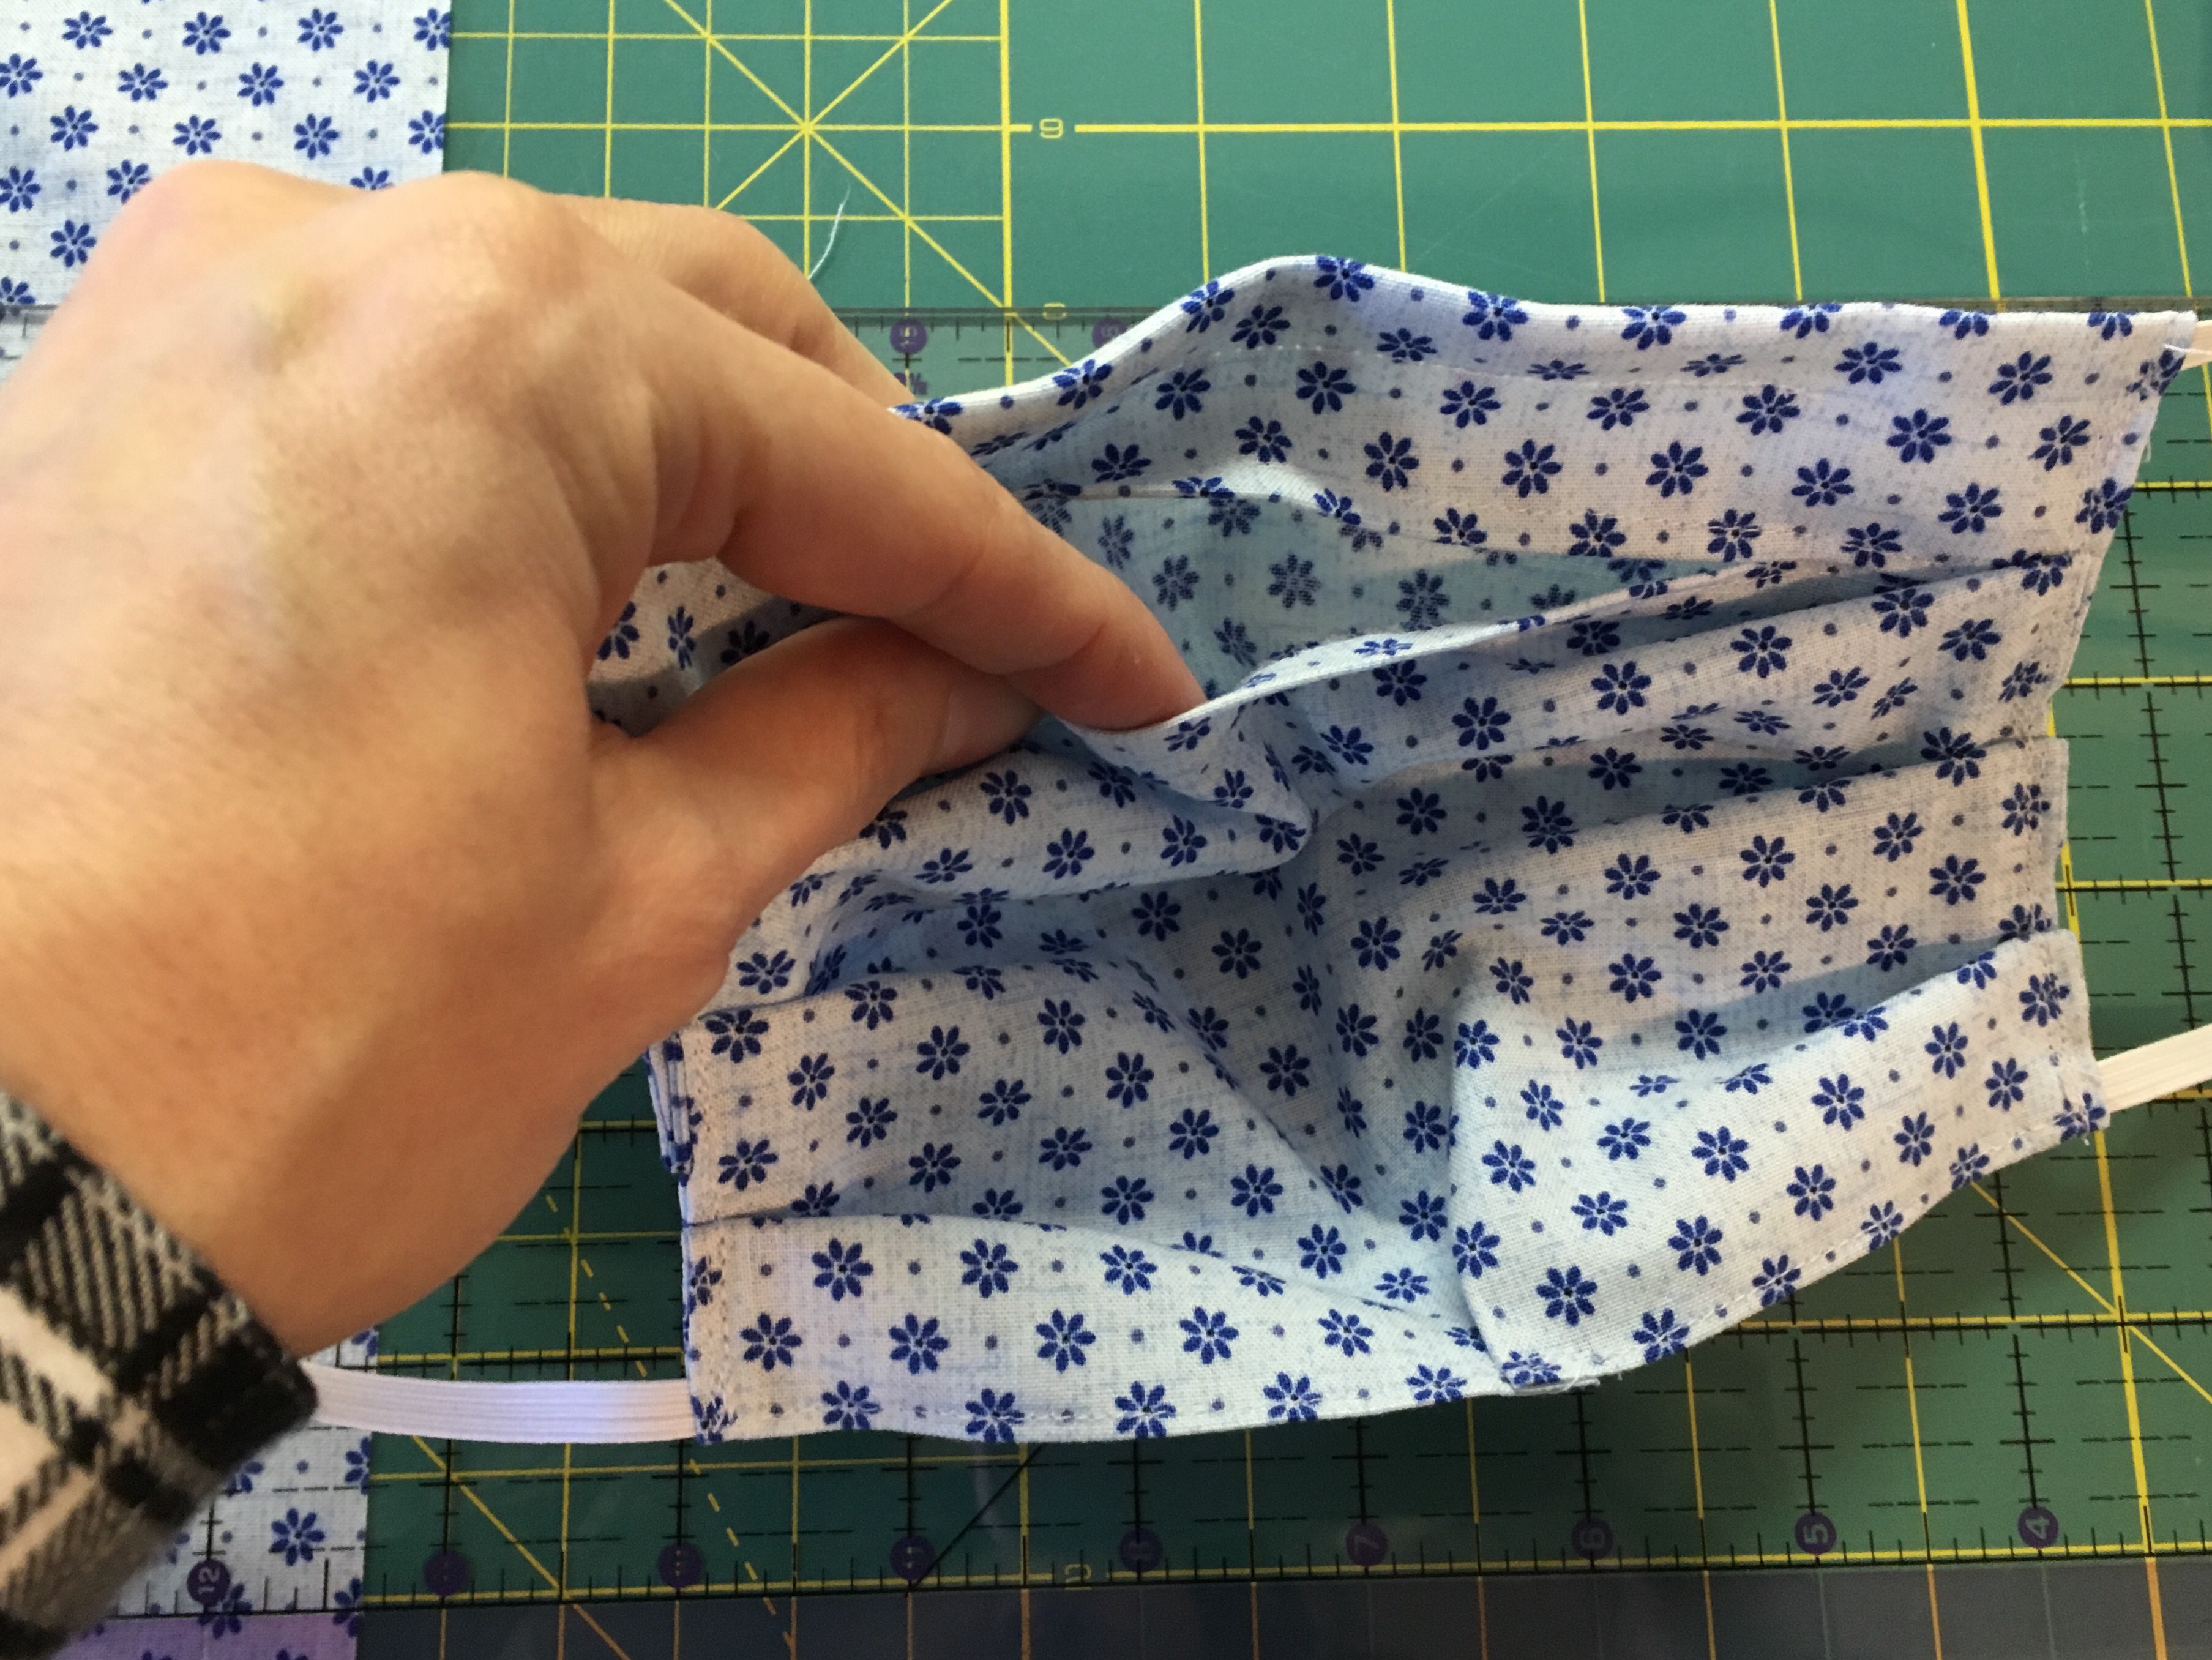
Being sure not to block your opening, add three pleats and clip or pin them. (See, if my opening were just a bit higher here I’d have more room for the pleats.)
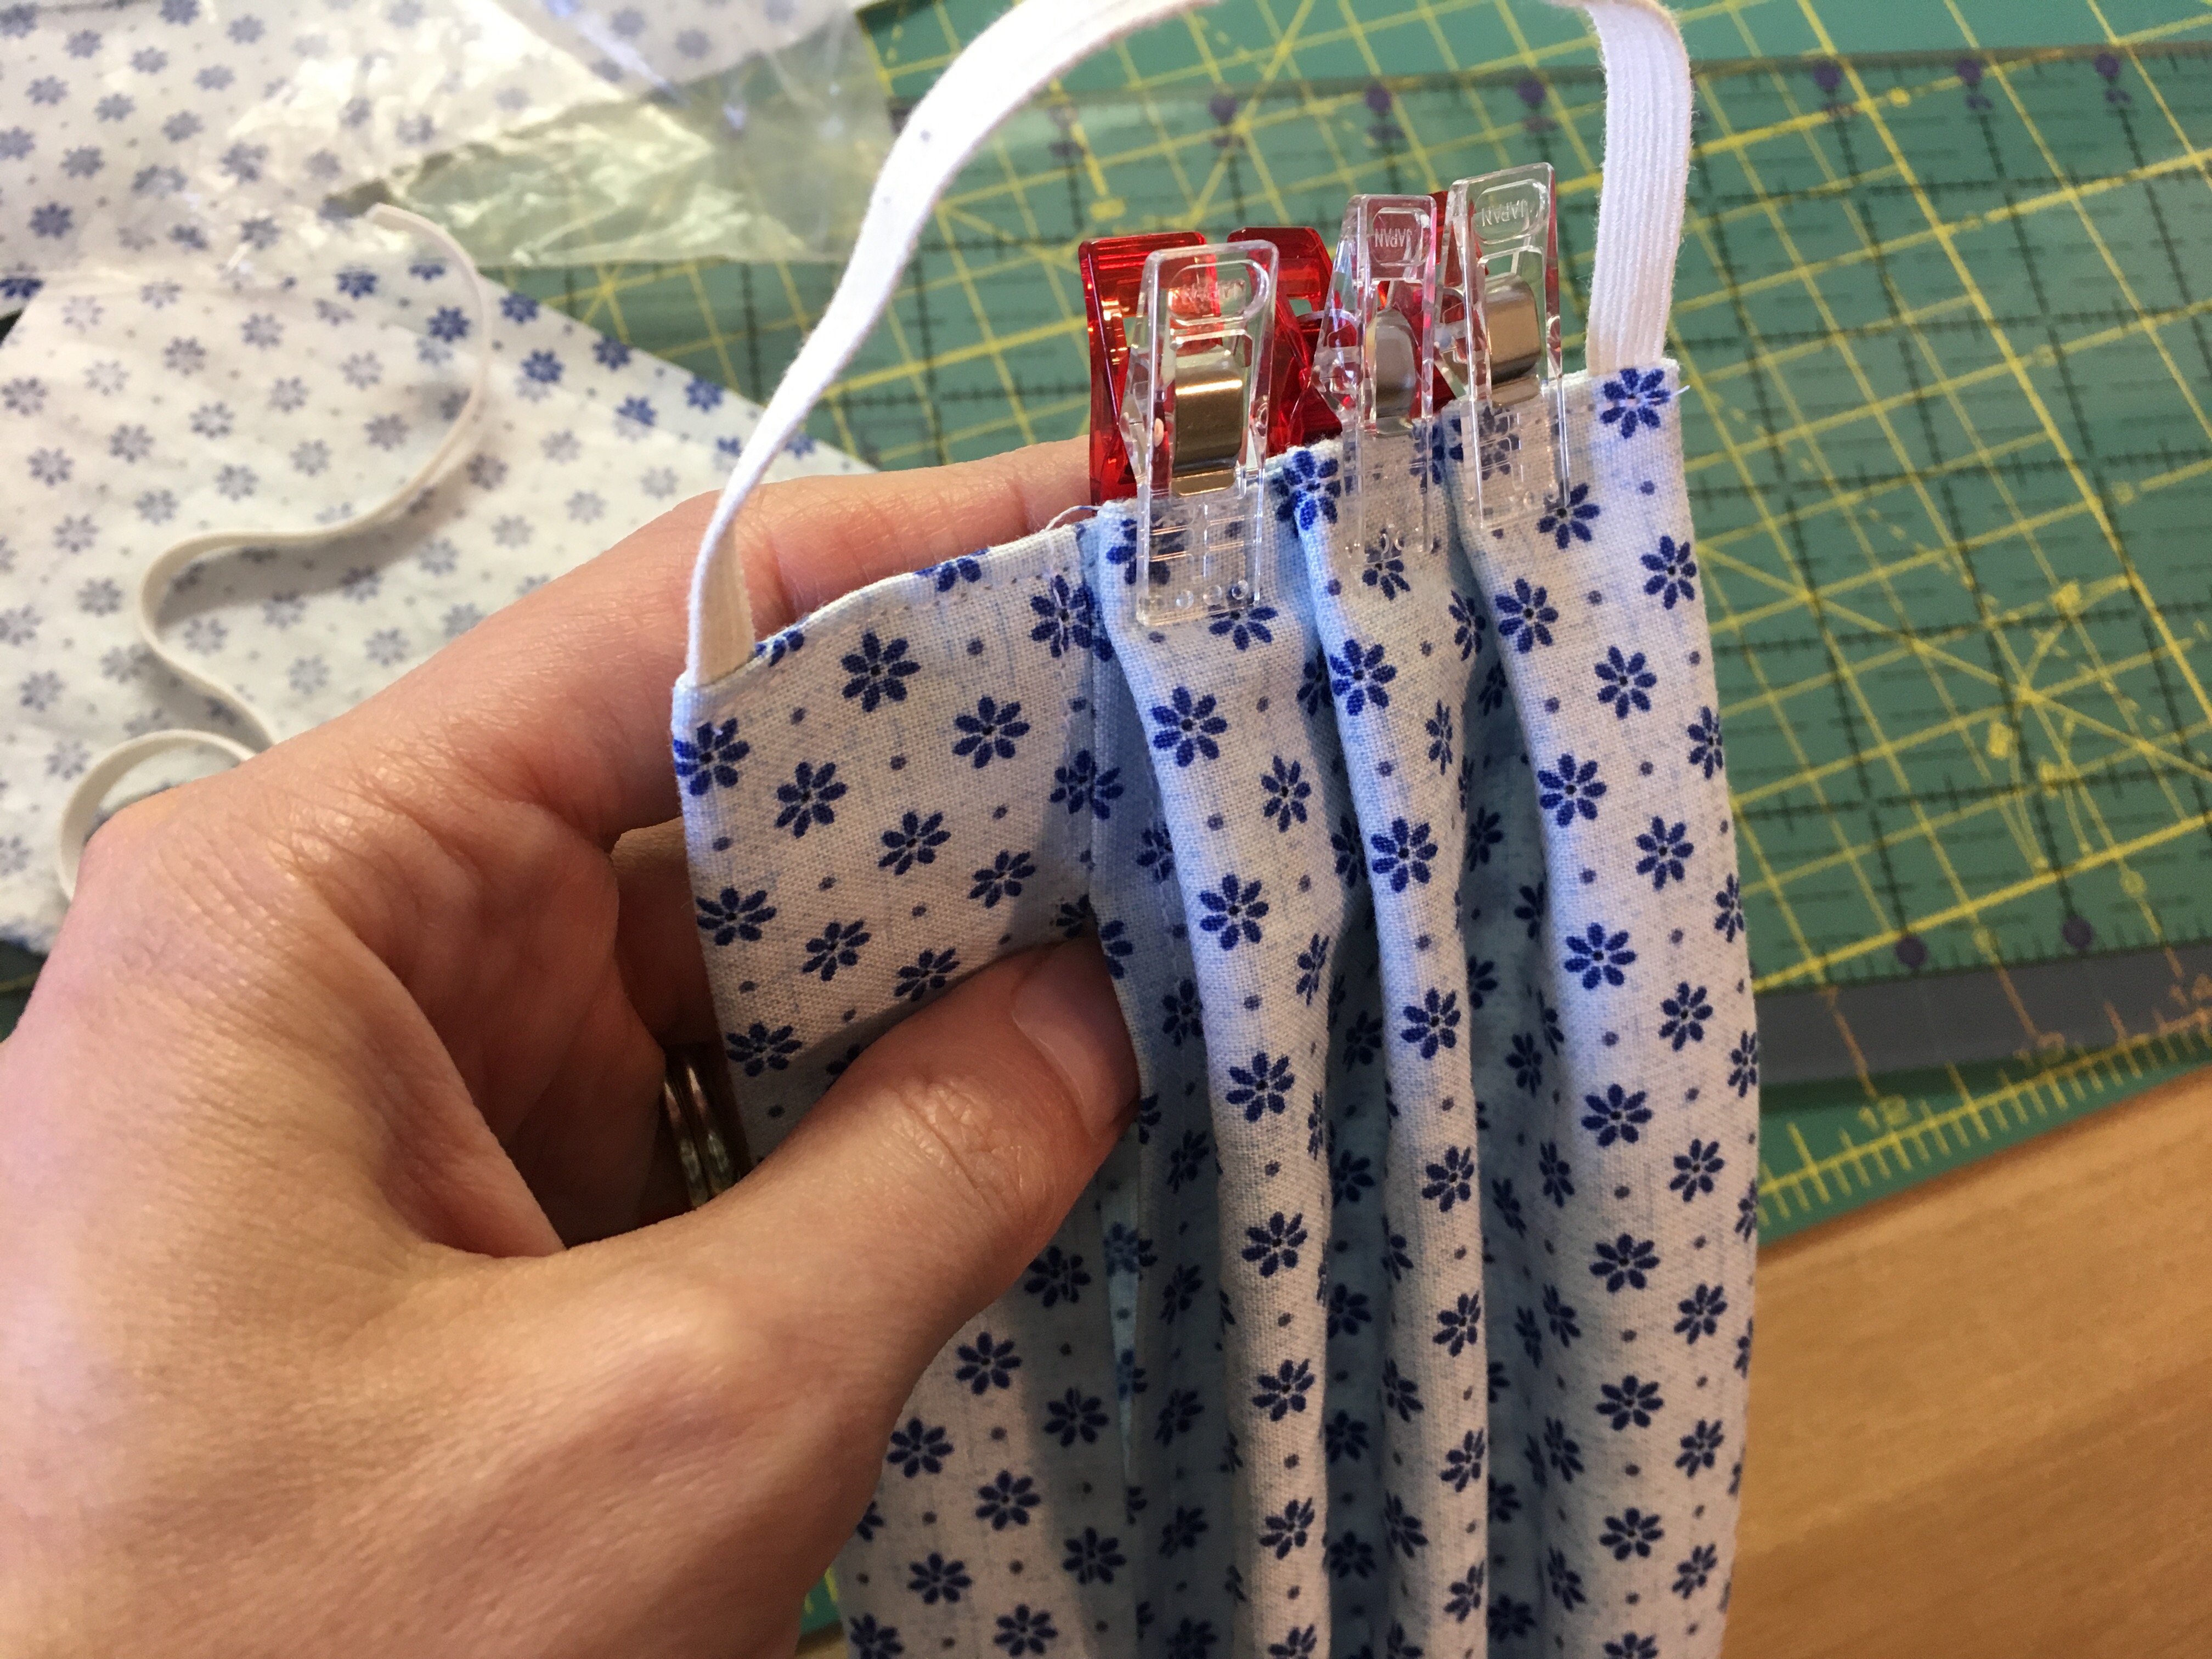
Hold the mask in front of you and be sure the pleats are even.
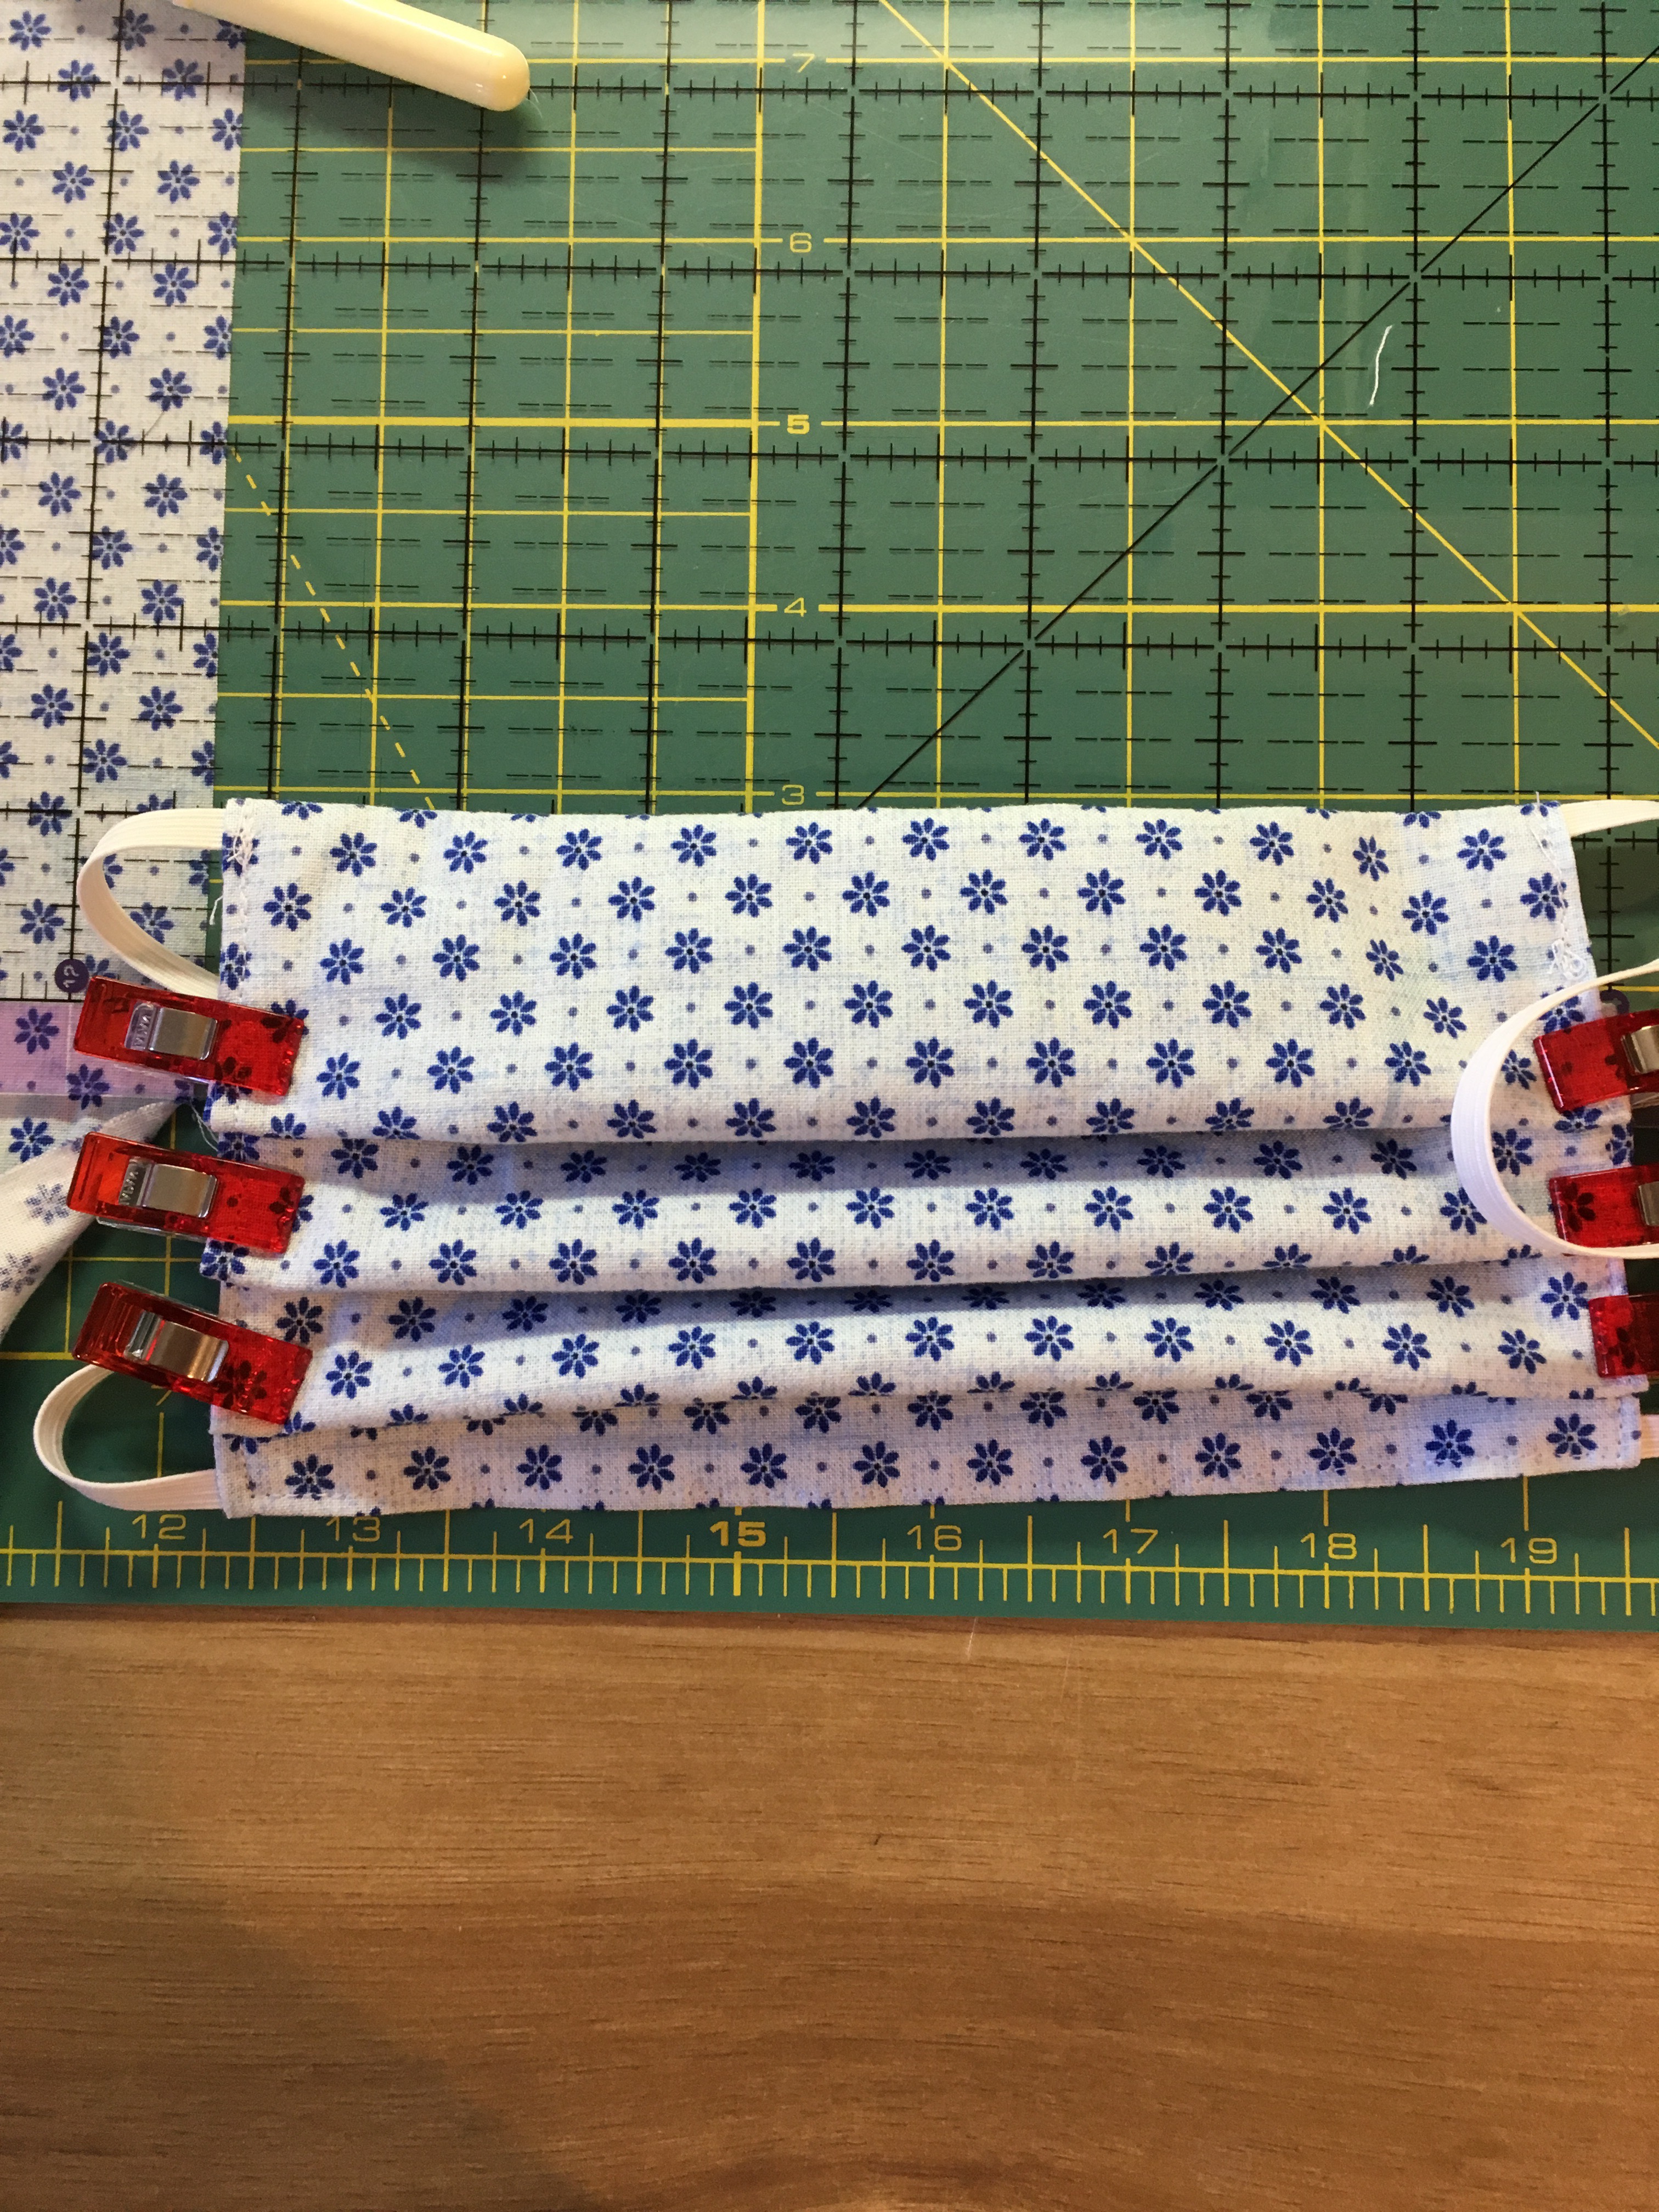
Sew across one side. When you get to the end, go ahead and turn the fabric and sew back across that same side a second time so that it is nice and secure.

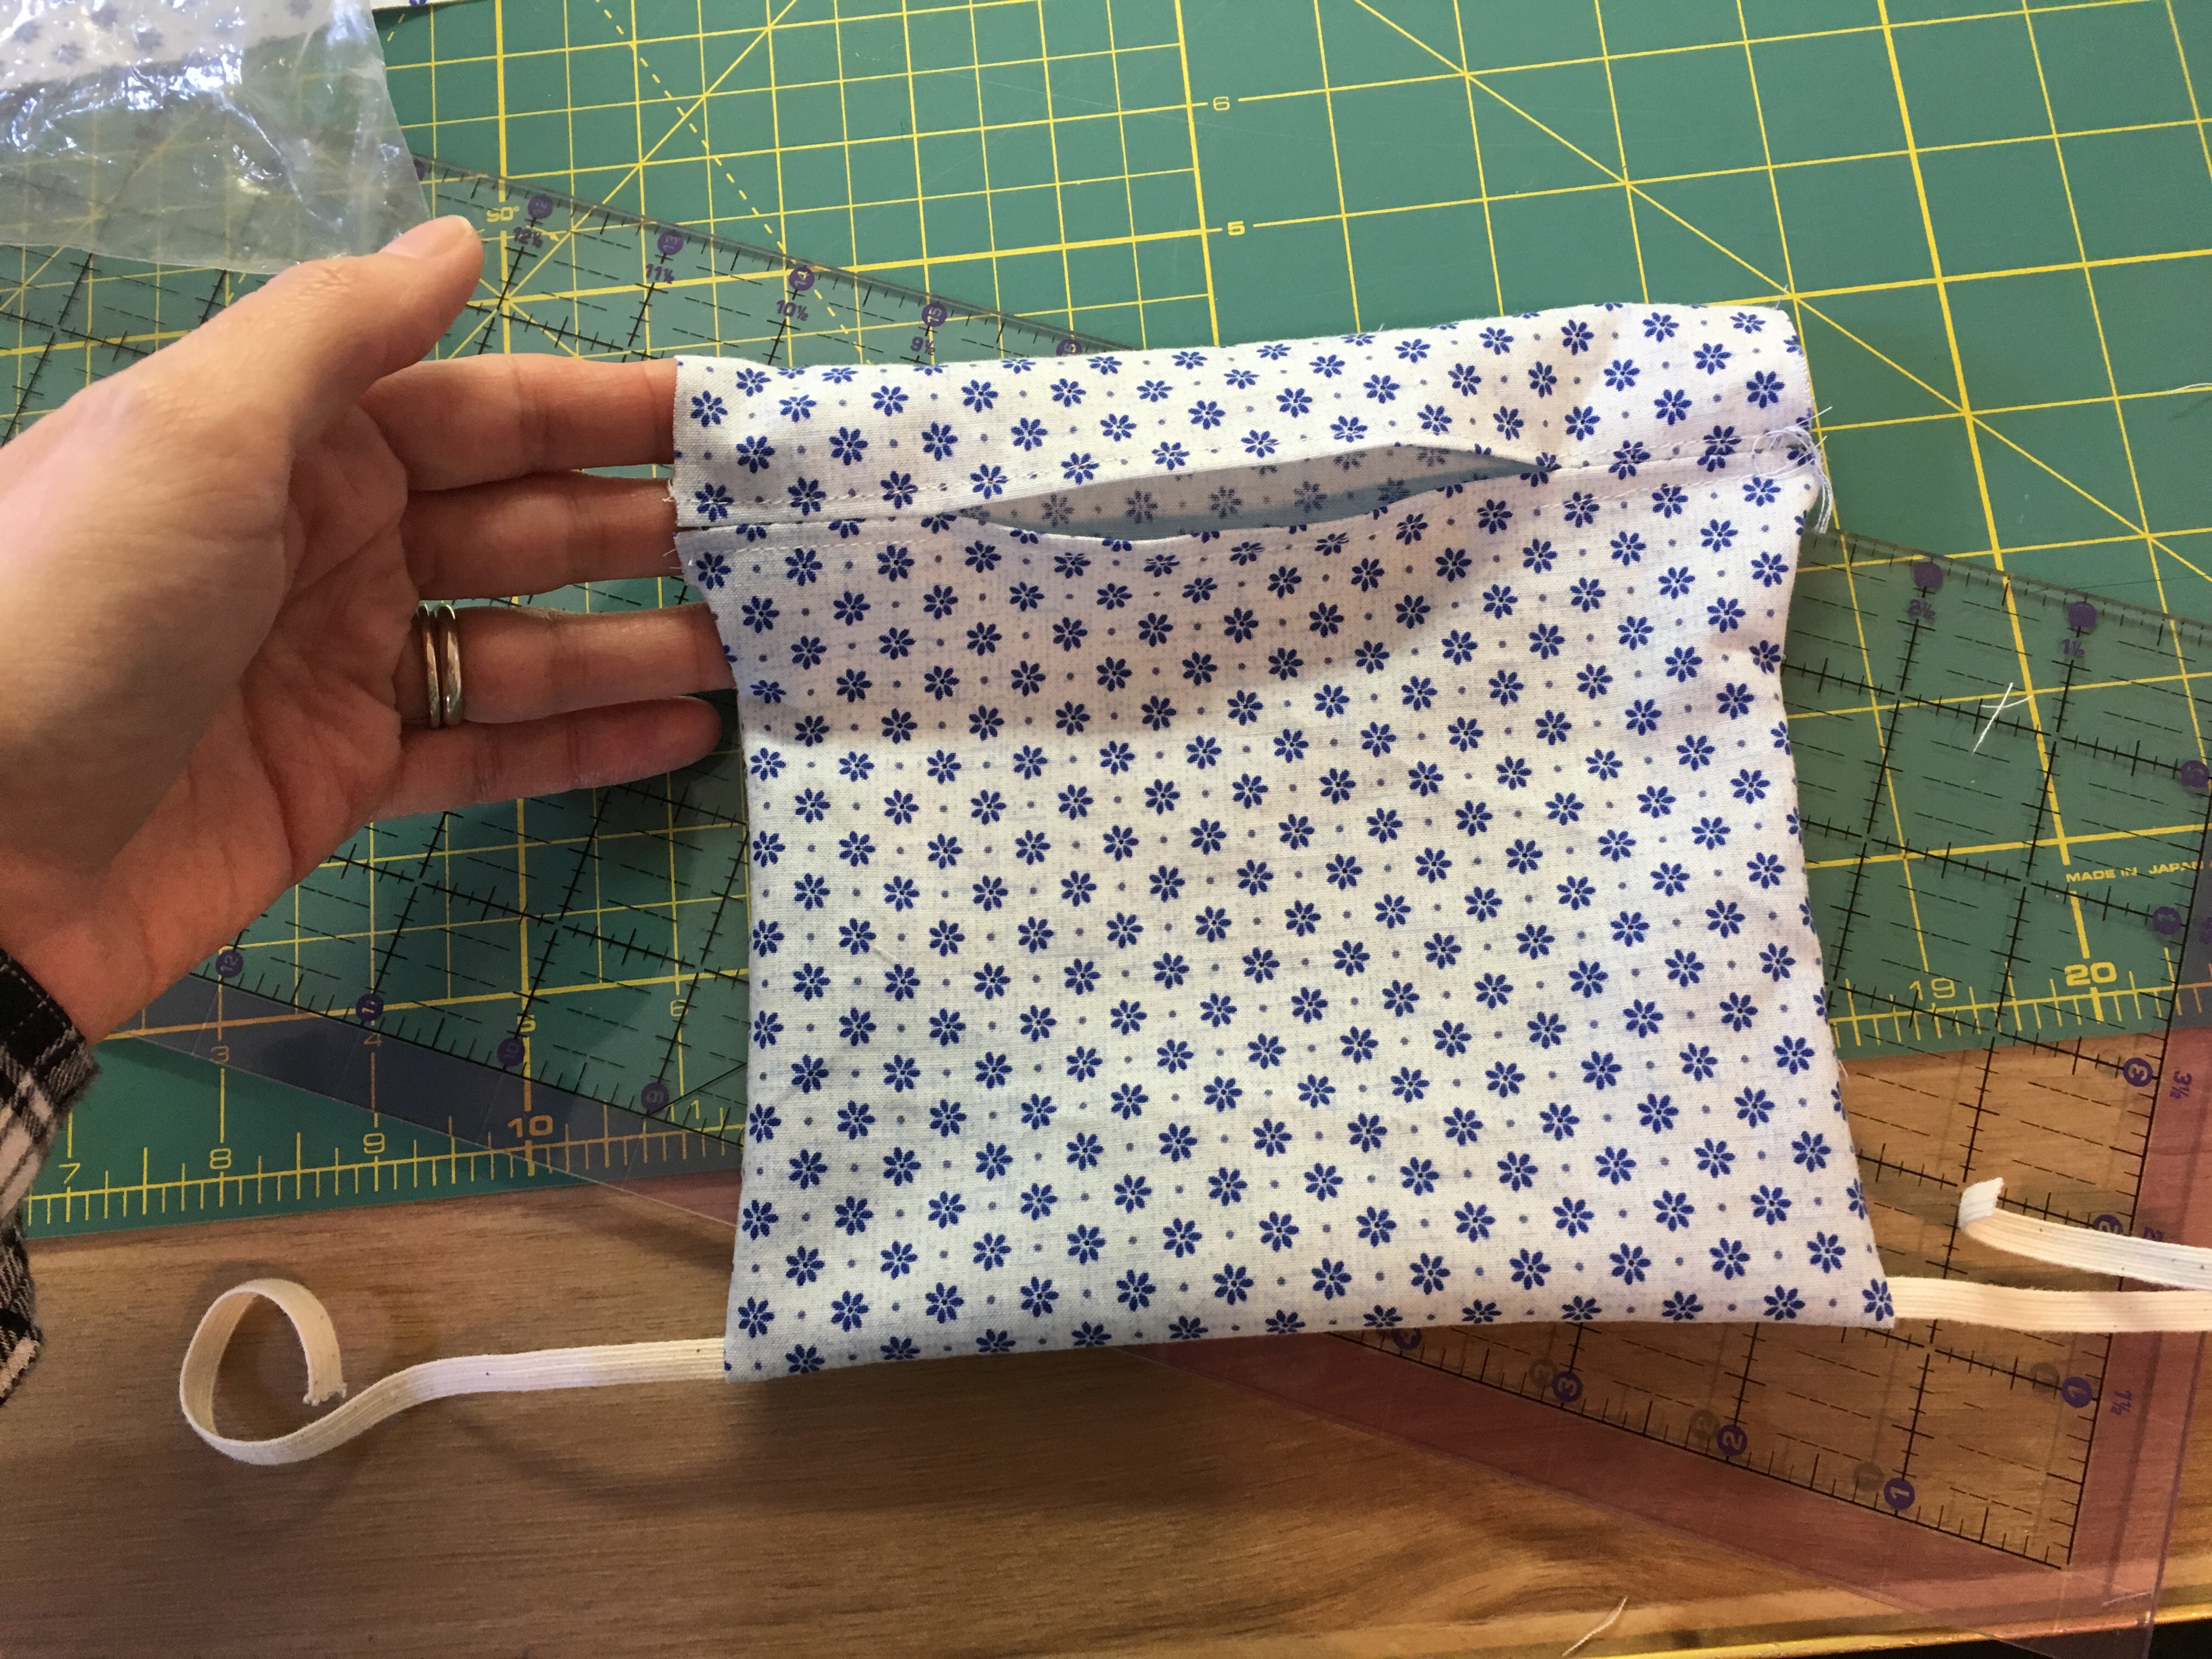
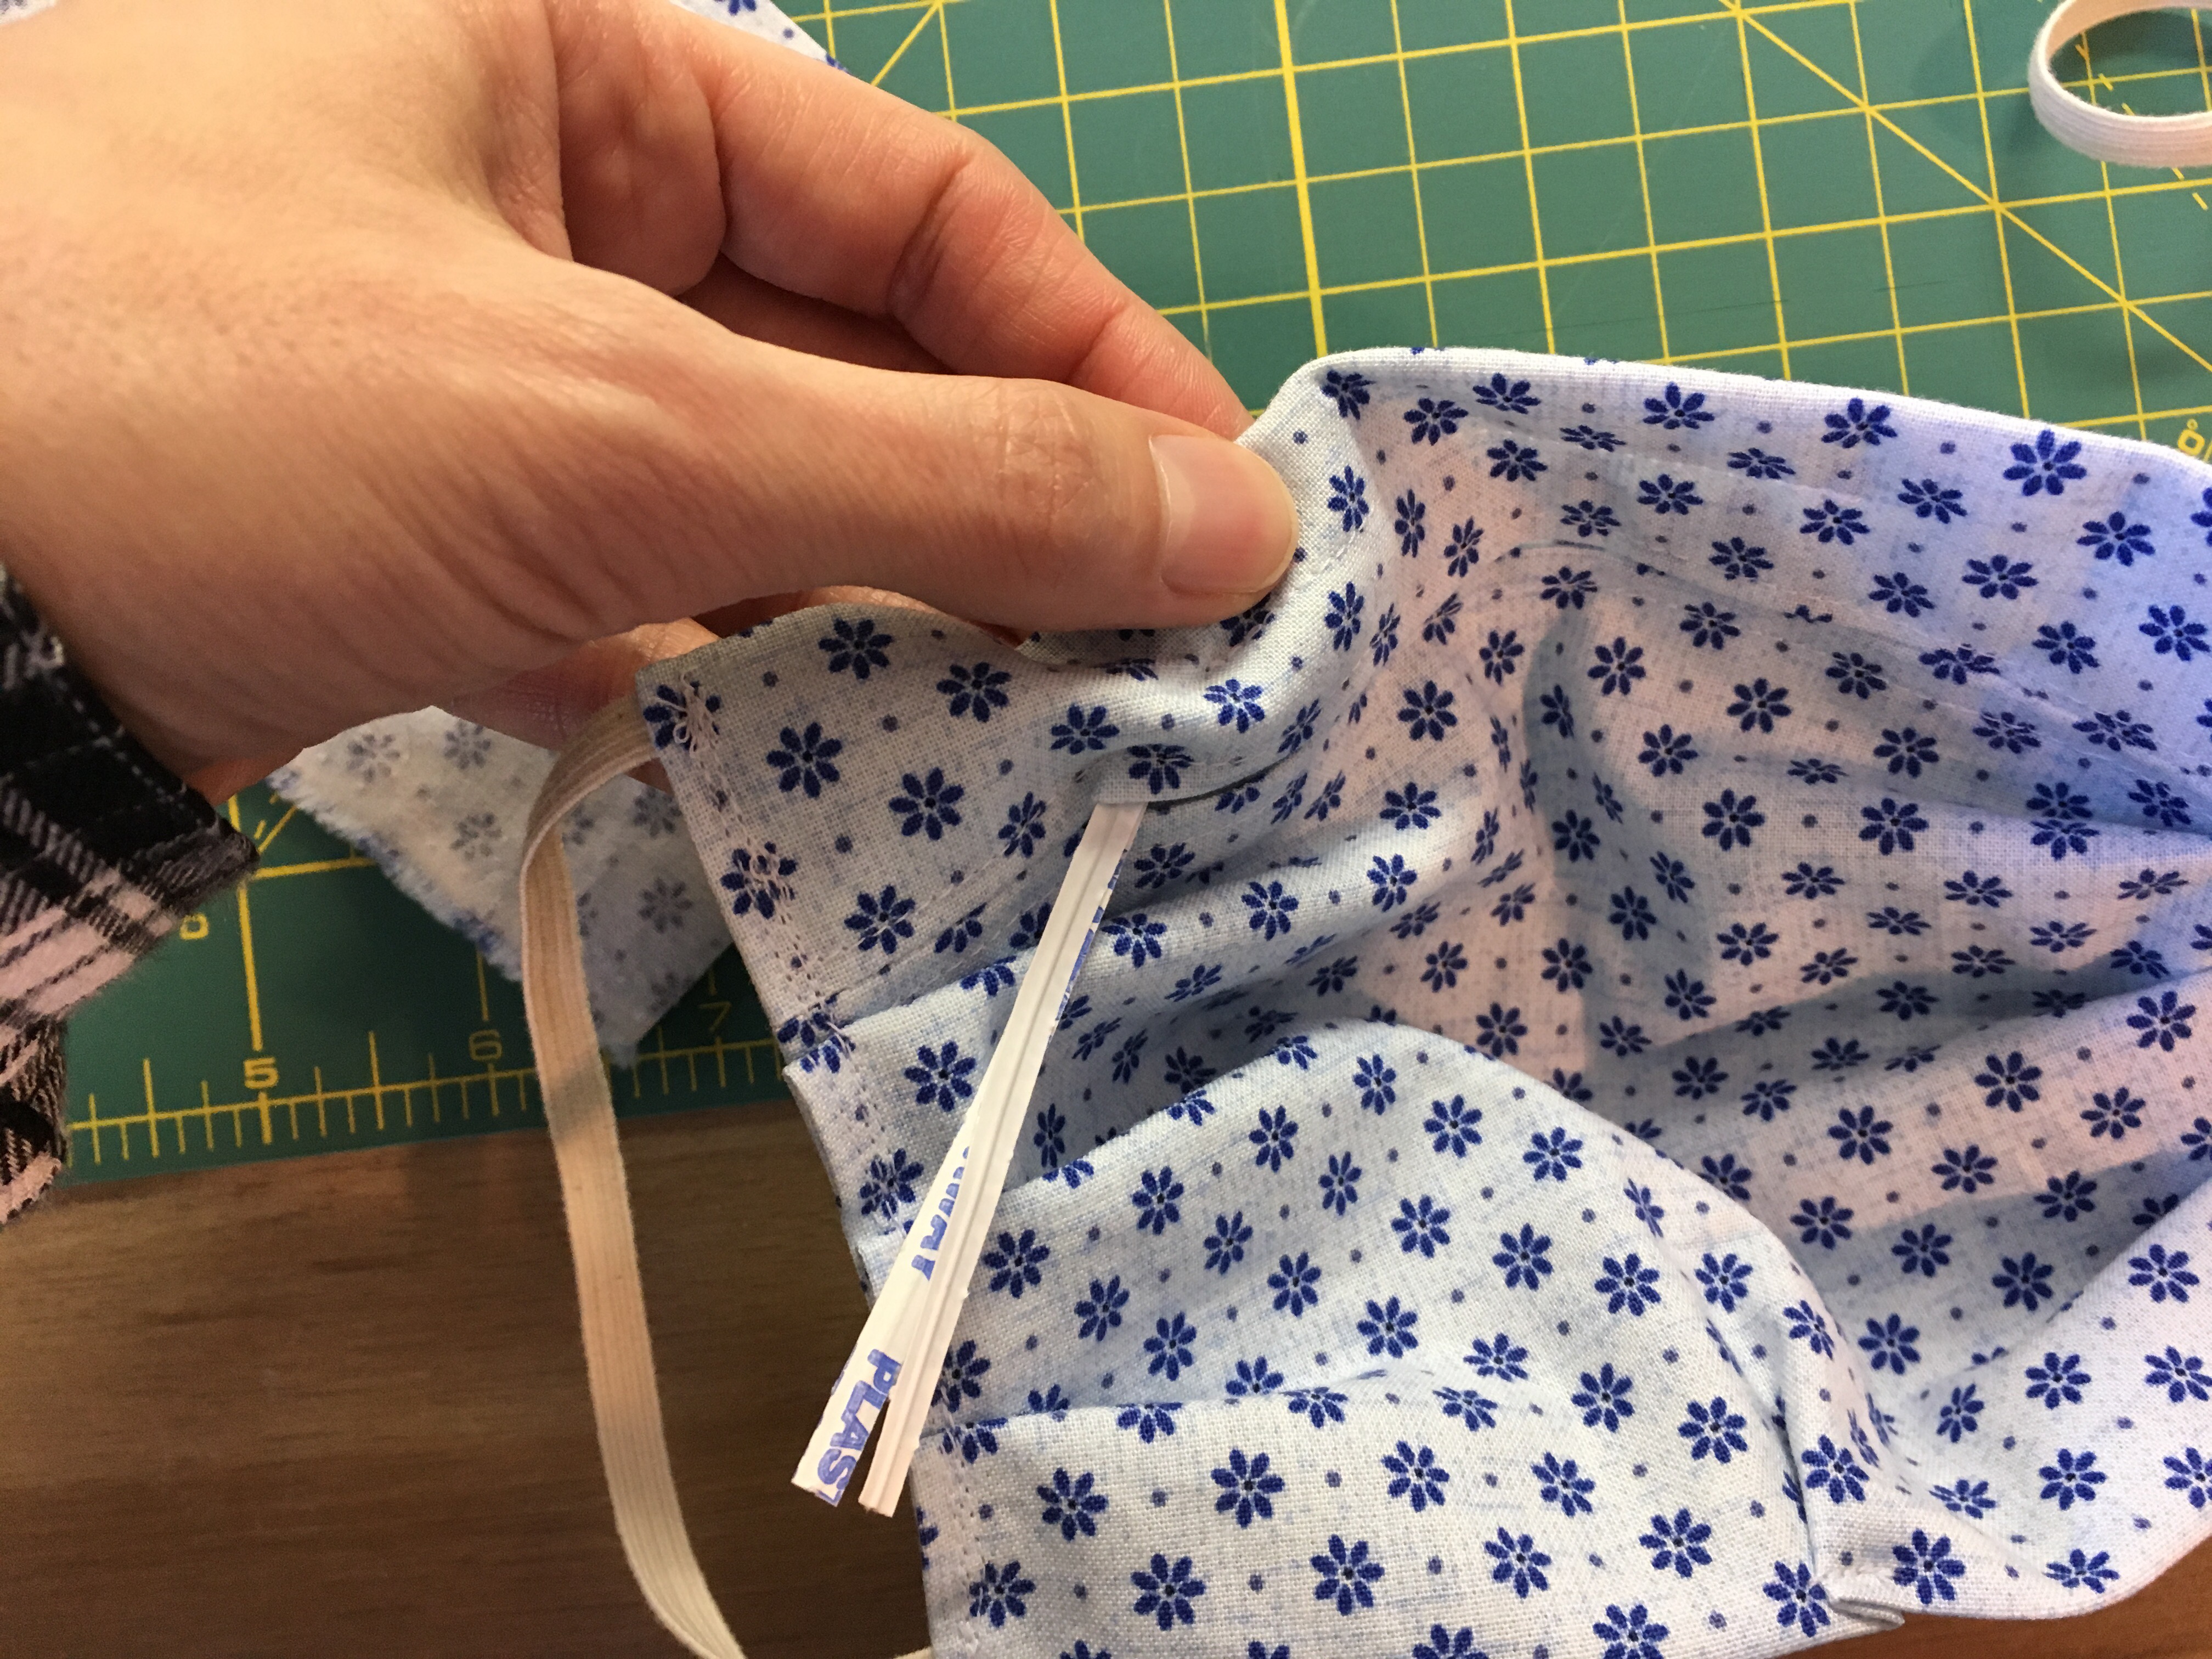
Measure 2″ in from each edge and sew a line across the middle, just under where my fingers are. Make it about the width of your presser foot. This is a space where a nose wire can be inserted. (twisty tie, pipe cleaner, etc) It can be removed for washing. Also, some of the hospitals are requesting no wires, so this makes the mask useable either way.

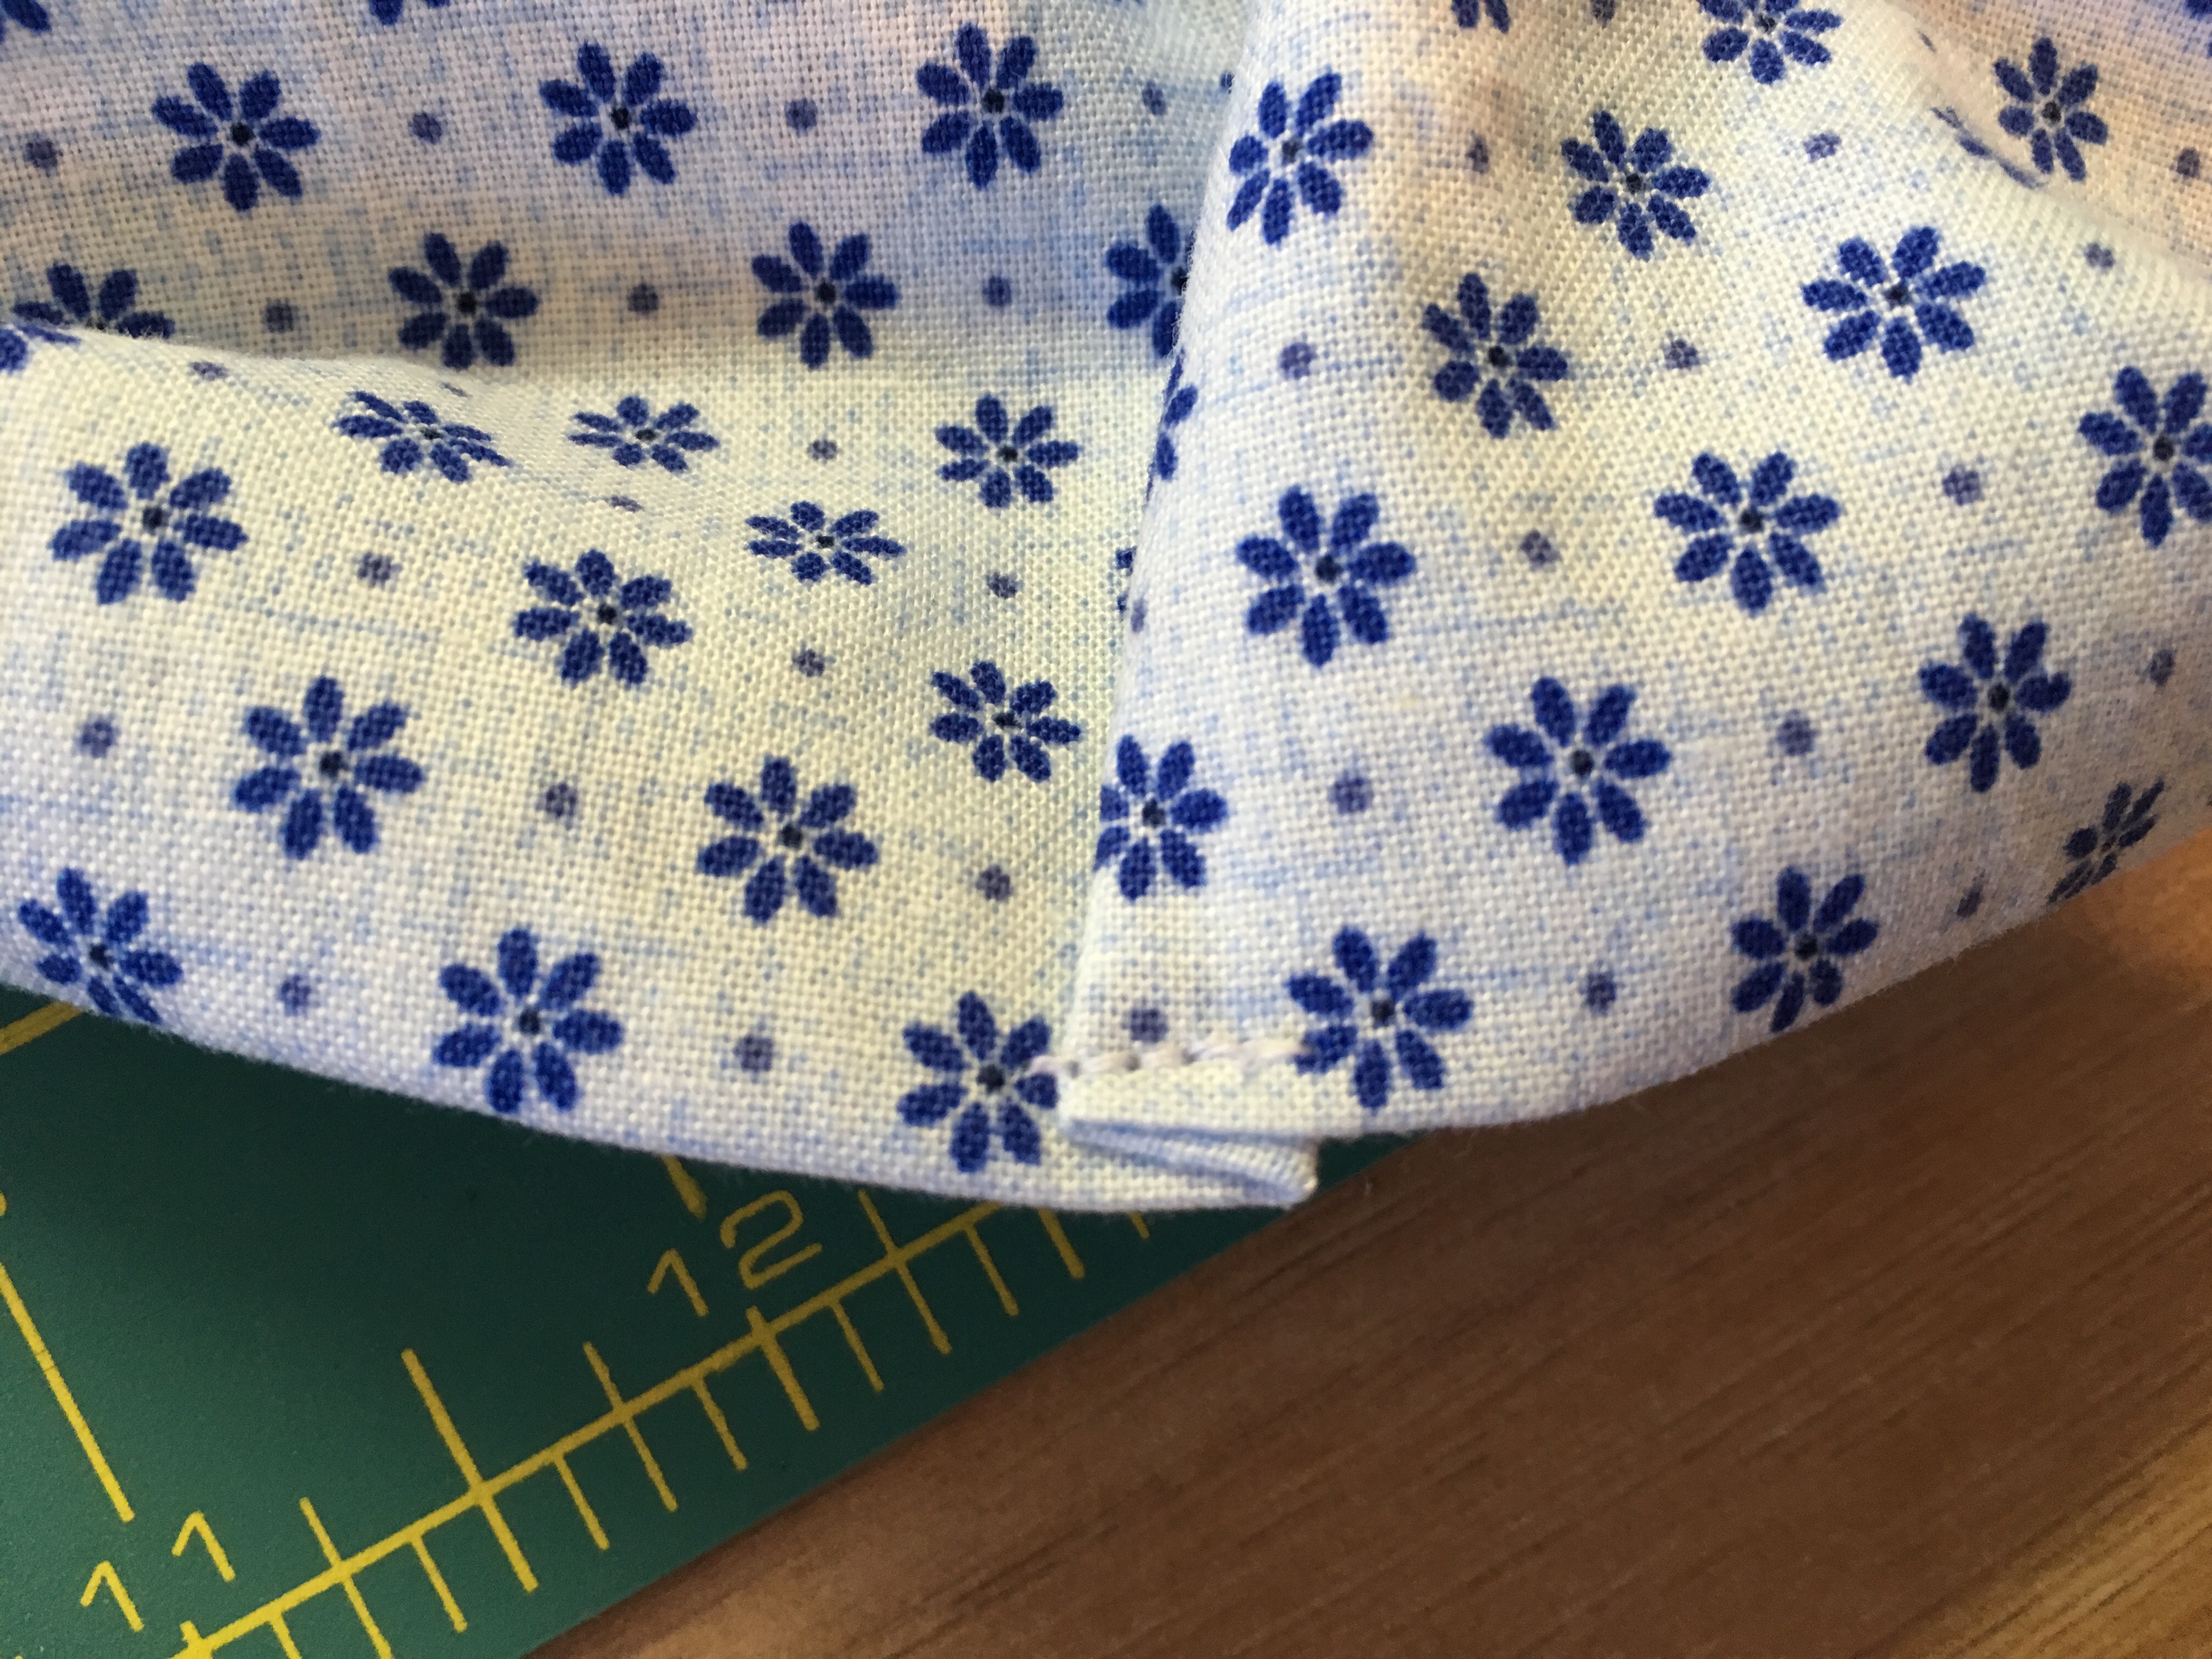
In the very center of the bottom of the mask, make a little fold and sew back and forth across it. This helps the mask to fit nicely around the chin.

This shows a twisty tie being inserted into the mask:
You’re all set!
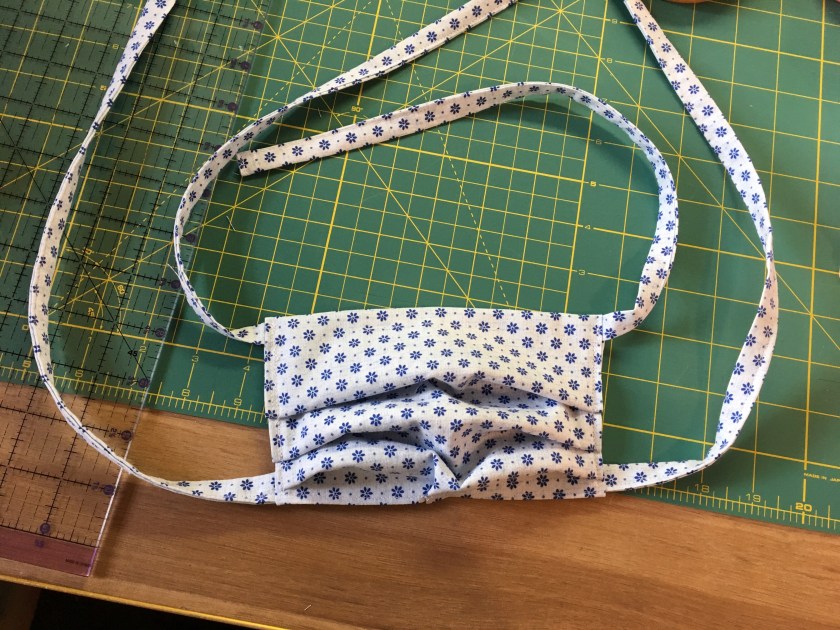
Ok, for versions 2 and 3, keep scrolling. Elastic is hard to find around here because all the crafters snapped it up to sew masks with! I’ve made two different versions of this mask with cloth ties. For this version, make four cloth ties (15-18″ each is what I’ve heard is best). Add them in right where you would place the elastic, using the above pattern pretty much the same way. My tie pieces started at 2″ wide, iron them in half the long way, then fold the edges in just like double fold bias tape and sew it up, tucking in the raw edge on the one end that will be loose.
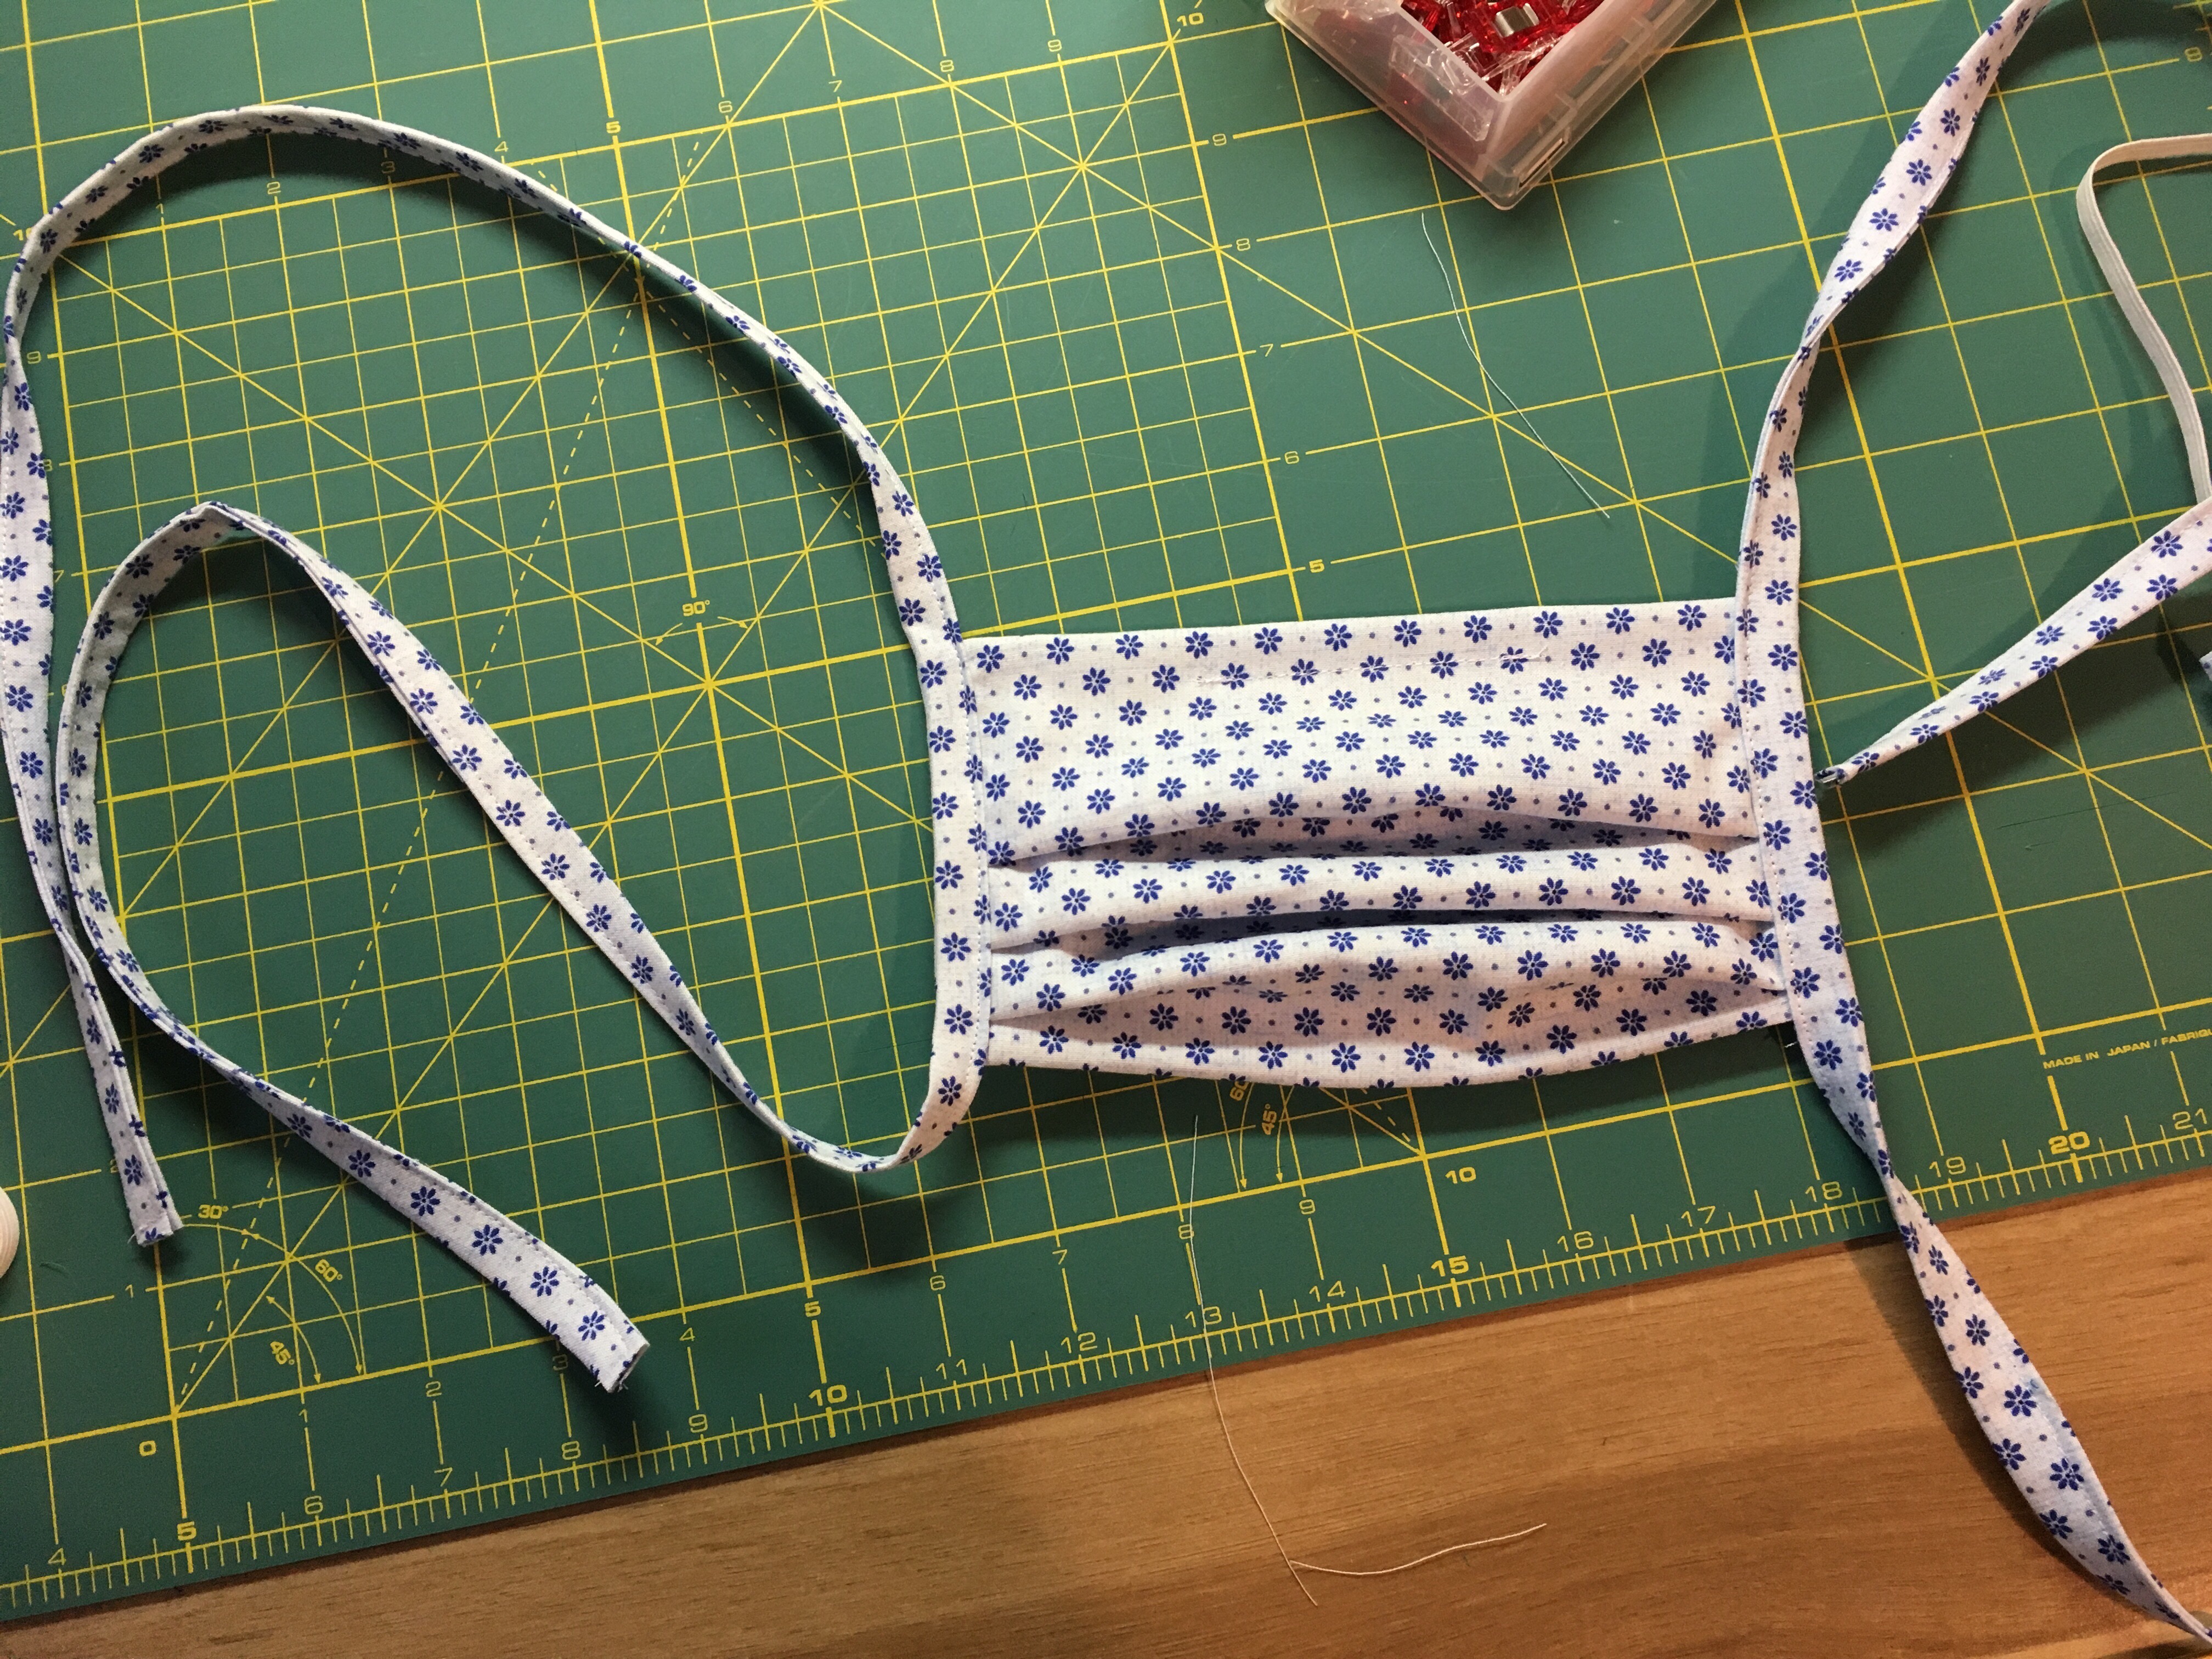
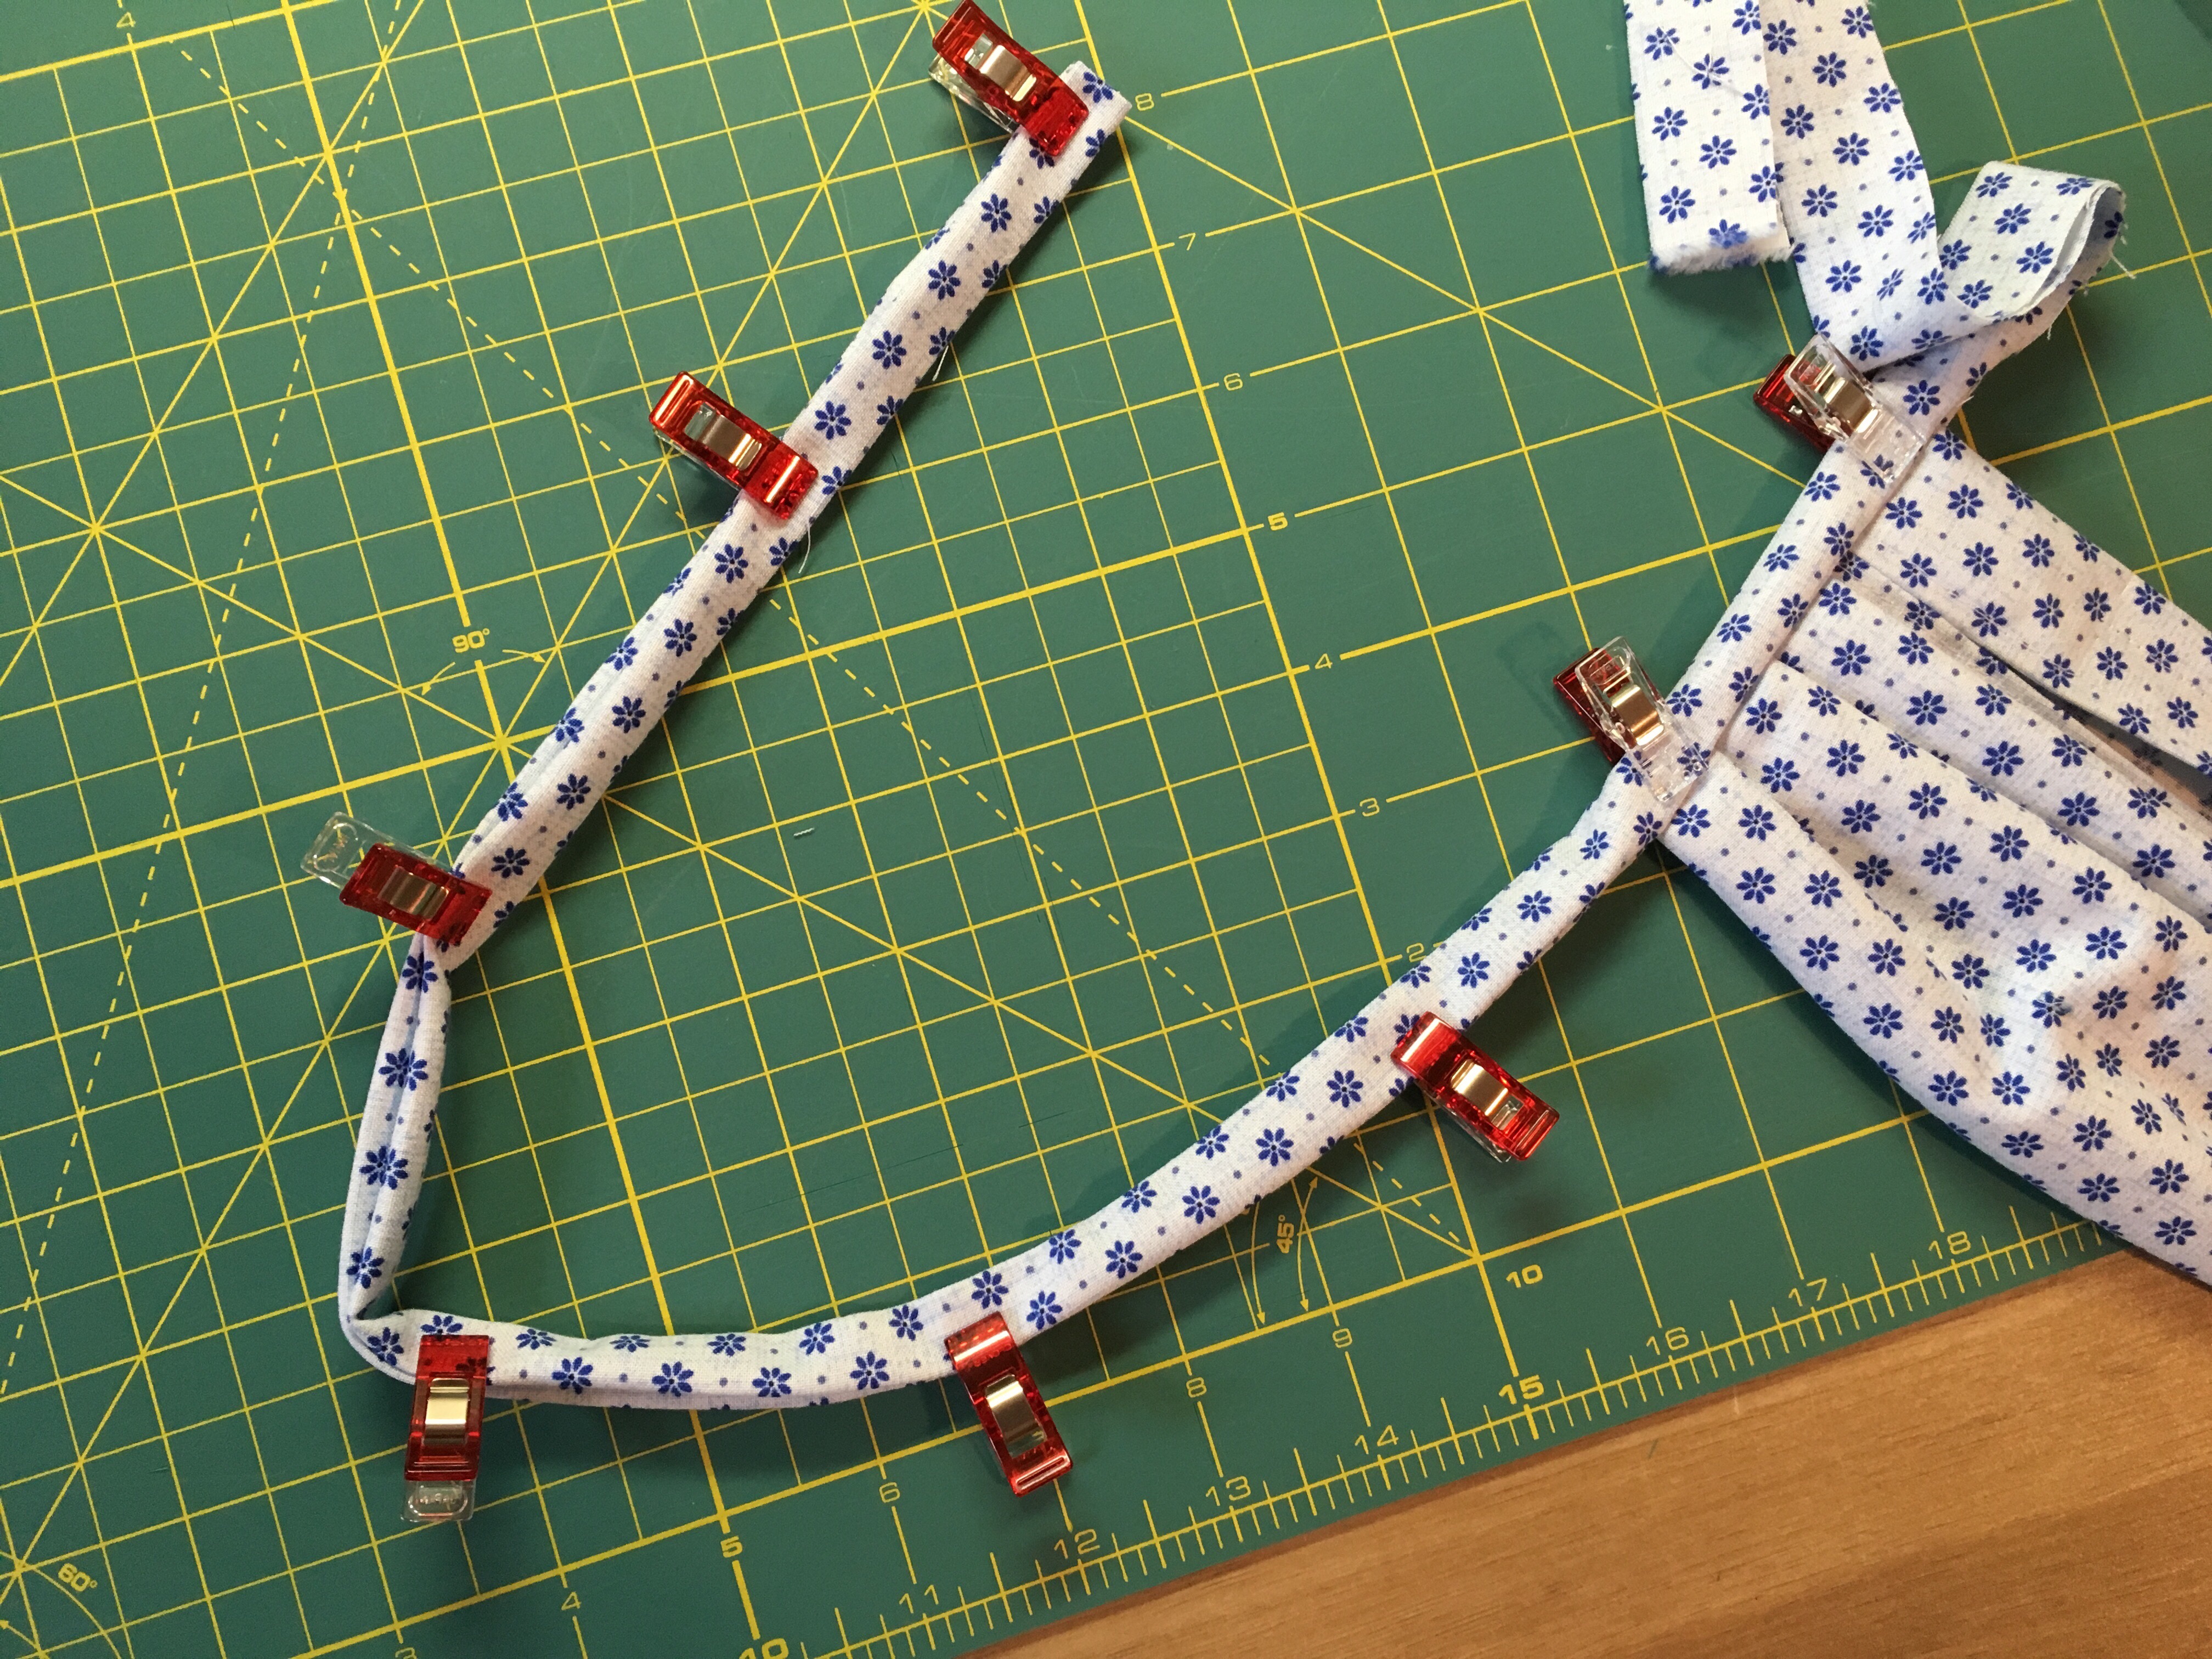
For version 3, you will sew the main mask piece closed, pleat it, and add the nose wire channel first. You can cut two pieces of fabric, 2″ x 40″ (the width of my fabric) and make straps. Iron the strap piece in half long ways (so now it is 1″ wide).
Open your strap and find the middle of it. Sew the back of the mask on to the strap like the picture shows:
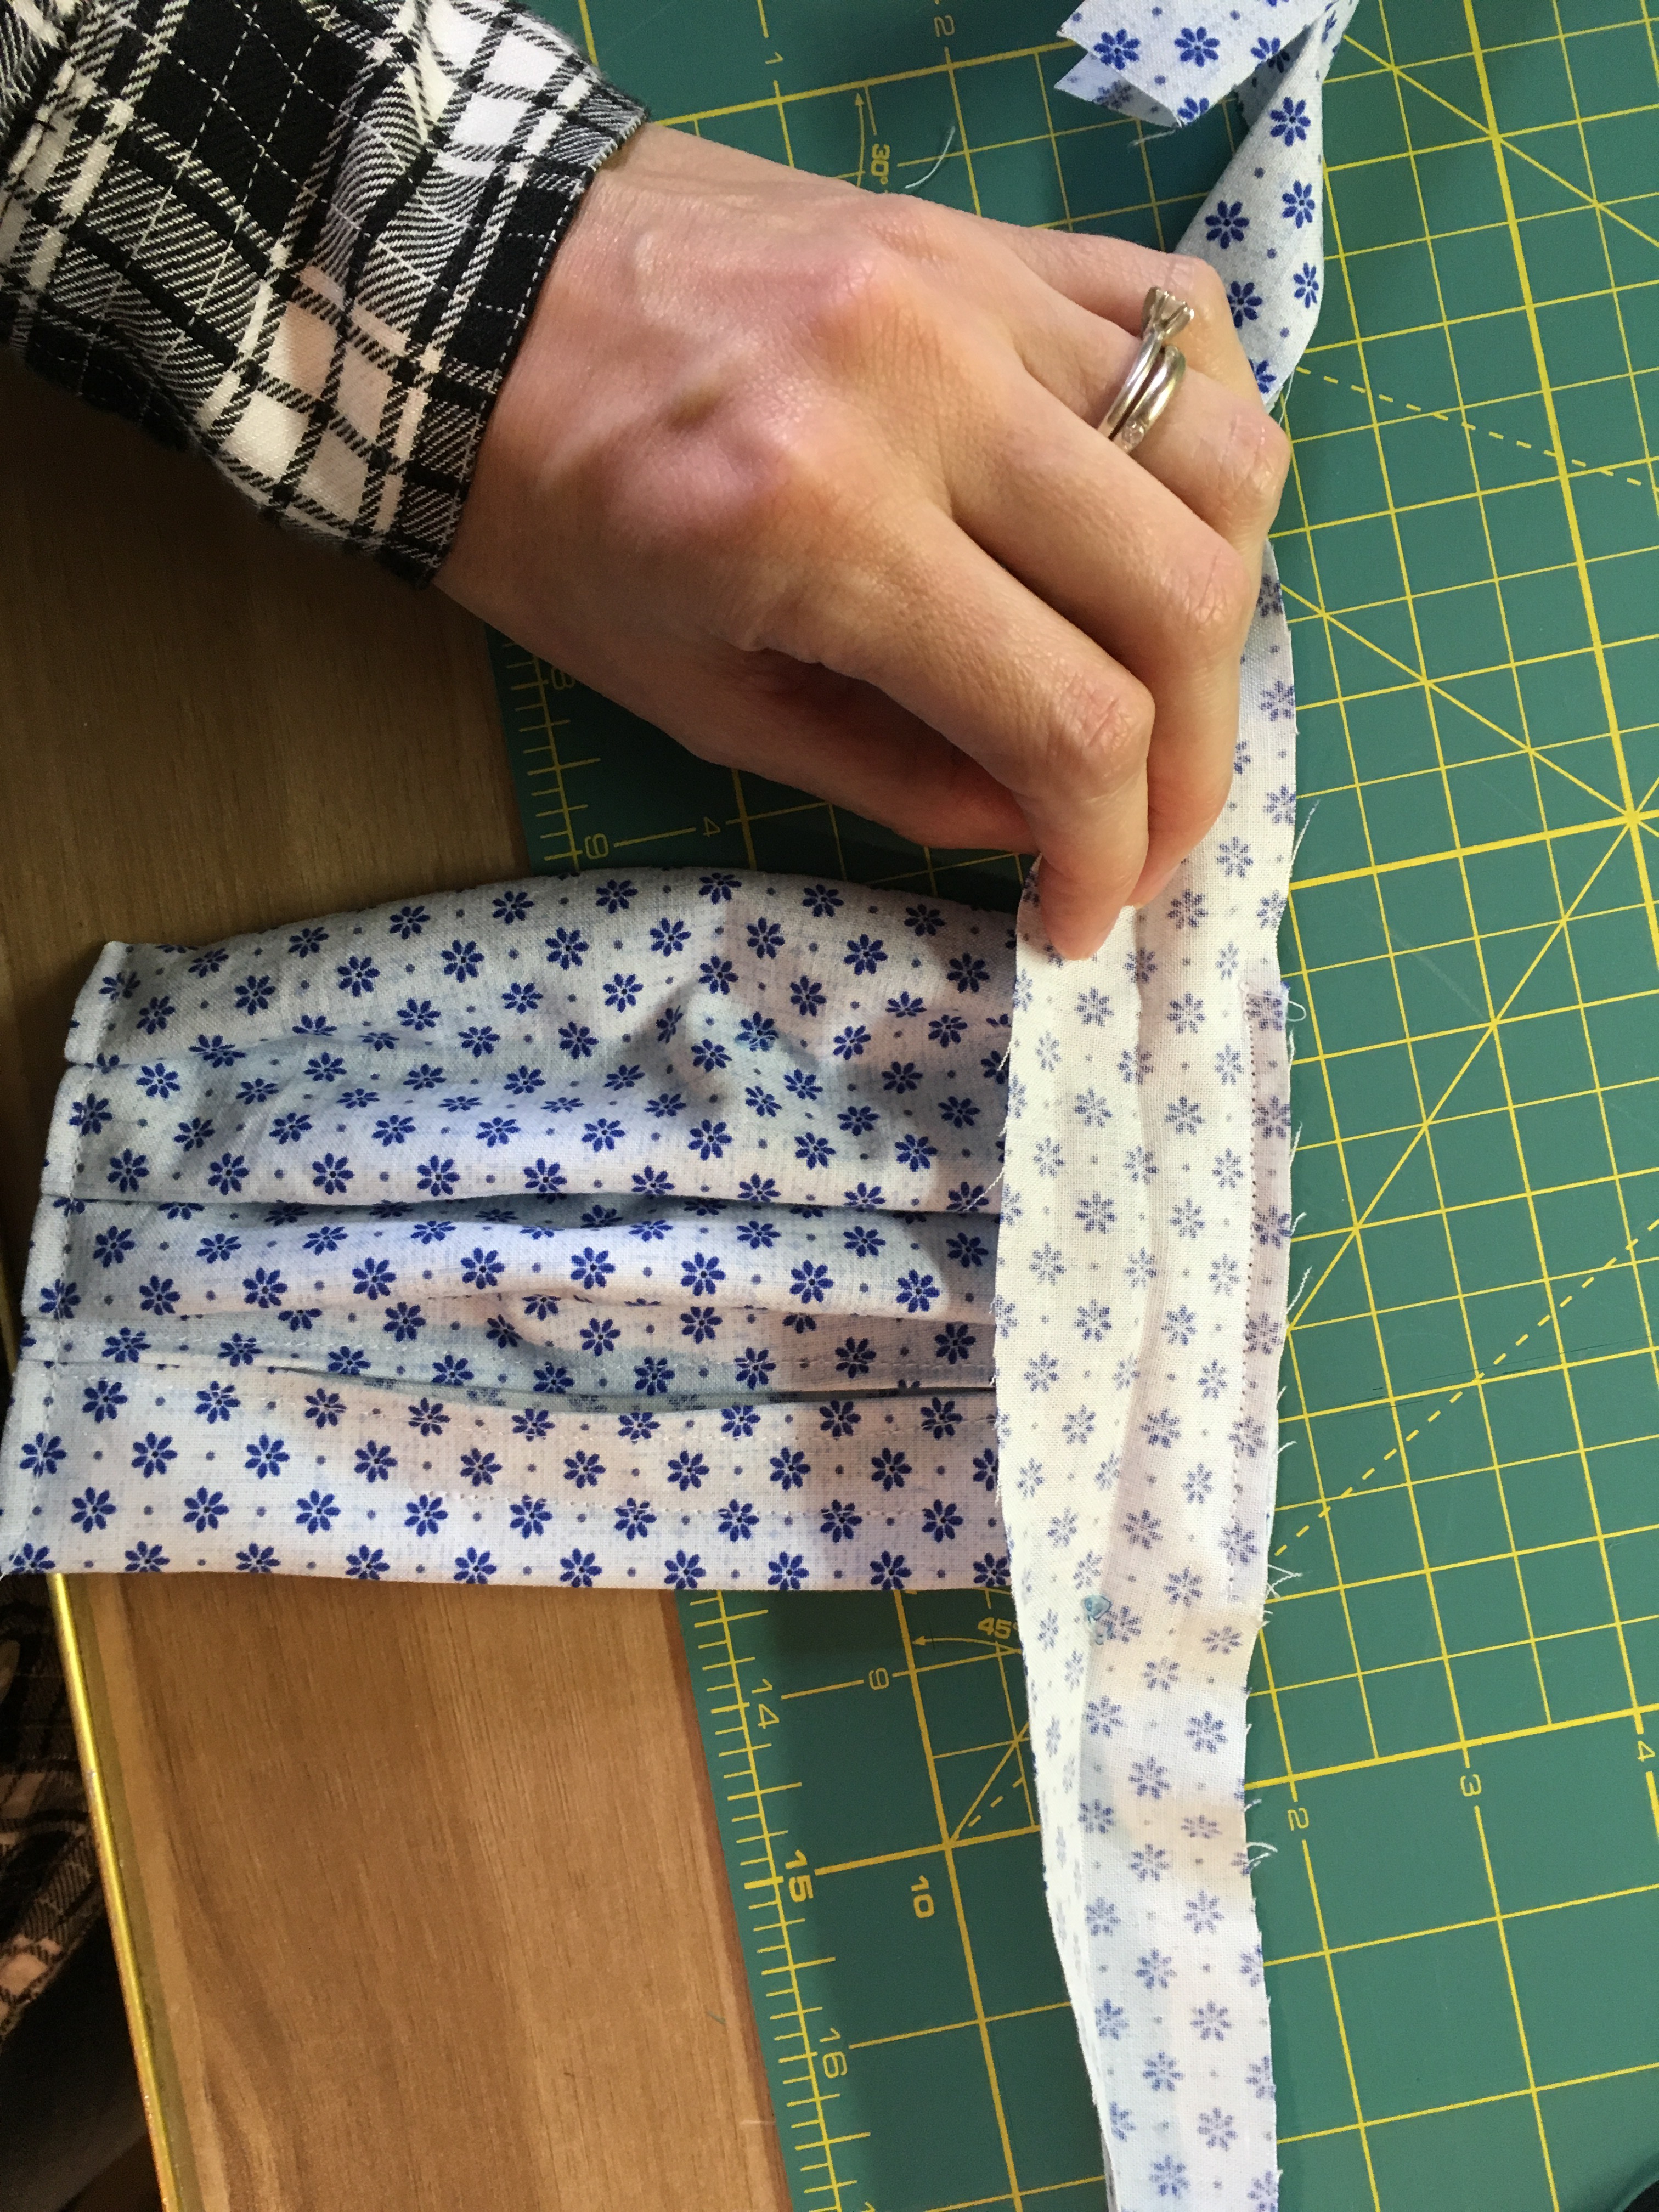
Fold your strap around and pin or clip it shut, being sure to tuck in the raw edge at the end. Sew from one end all the way down, over the mask, and on to the other end of the strap. Do this on both sides and you’re all set! I think I left the chin tuck off of this one, but you could add one.
Let me know if you have any questions, I’ll try to answer. Hope this is helpful! Thanks for sewing!